A blatant copy-paste of the walkthrough I wrote and posted here.
Why bother?
Why not? It’s a fun project. ![]()
Despite the final effect being an unsupported configuration and lacking essential security features for production use, there are still some cases, besides having fun, like testing out the workflow of this system when no supported hardware is present. Or developing software for Domain-0, which is better suited for testing on a living system, rather than with mocks. Or learning some of the internals of Qubes OS’ underlying infrastructure, like Xen virtualization modes, commandline applications for managing qubes, among others.
Things to keep in mind
- This procedure is for the Qubes OS 4.2.0 release
- VirtualBox Version 7.0.12 r159484 has been used for this laboratory, as it was the newest version at the time of writing this document.
- Most of the time, especially during the installation phases, the virtual machine display resolution will be stuck at 800x600, making some crucial menus out-of-bounds - there will be descriptions, how to handle them.
- The options described in this document have been tested to work fine, but may not be required for the whole setup to work fine - feel free to experiment with them on your own.
Creating and configuring the virtual machine
Create a new virtual machine with the following parameters:
- ISO Image:
Qubes-R4.2.0-x86_64.iso - Skip Unattended Installation: (checked)
- Base Memory: 8192 MB
- Processors: 4
- Enable EFI (special OSes only): (checked)
- Virtual Hard Disk → Disk Size 80,00 GB
Then open the virtual machine’s Settings menu and change the following:
- General → Basic → Version: from Red Hat (64-bit) to Fedora (64-bit)
- System → Motherboard → Pointing Device: from PS/2 Mouse to USB Tablet
- Display → Screen → Video Memory: from 16 MB to 128 MB
Installation
Start the virtual machine and once the boot menu shows up, uncheck the option “View → Auto-resize Guest Display” in the virtual machine’s menu bar. Select the Install Qubes OS R4.2.0 option, and wait for the installer to start automatically.
On the “WELCOME TO QUBES OS R4.2.” screen click on the blue “Continue” button, leaving the default “English (United States)” language option intact.
A modal will pop up with the notice “Unsupported Hardware Detected” and the following missing features: “HVM/VT-x/AMD-V, IOMMU/VT-d/AMD-Vi, HAP/SLAT/EPT/RVI, Interrupt Remapping”. Click on the “Continue” button.
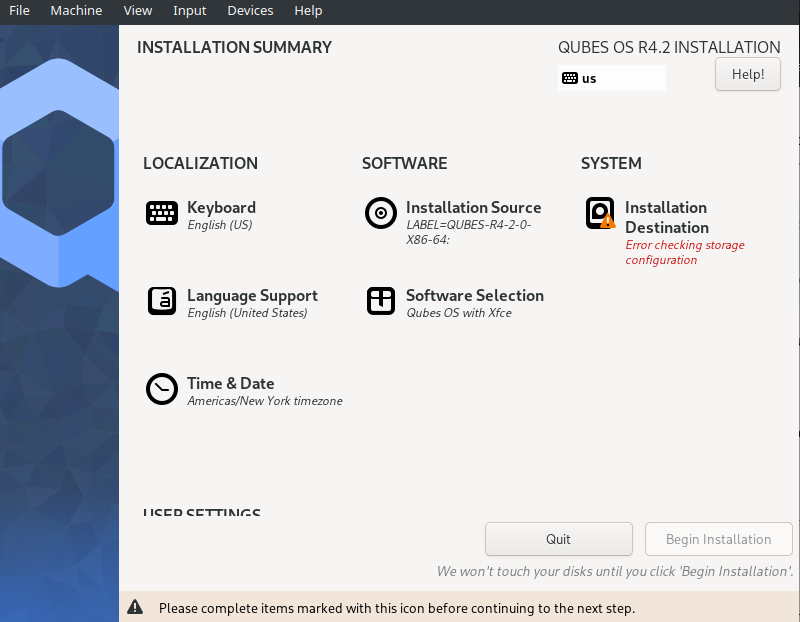
On the “INSTALLATION SUMMARY” screen select the “SYSTEM → Installation Destination” option and scroll down, so the “Encryption → Encrypt my data.” option will show up. Uncheck it - we don’t need to encrypt the disk in this laboratory setting. Then click on the blue “Done” button in the top left corner.
Back on the “INSTALLATION SUMMARY” screen, scroll down so the “USER SETTINGS → User Creation” option will show up. Click on it, fill in the required options with:
- Full name: user
- User name: user
- Password: password
- Confirm password: password
and click on the blue “Done” button twice in the top left corner.
Back on the “INSTALLATION SUMMARY” screen, click on the blue “Begin Installation” button. Wait until this installation phase has finished and then click on the blue “Reboot System” button. Wait until the machine reboots - it may take a while.
Wait until the system has finished loading - an “INITIAL SETUP” screen will appear. Click on the SYSTEM → QUBES OS option and change the following options:
- Make sys-net disposable: (checked)
- Automatically accept USB mice (discouraged): (checked)
- Automatically accept USB keyboard (discouraged if non-USB keyboard is available): (checked)
Click on the blue “Done” button in the top left corner. You’ll be back on the “INITIAL SETUP” screen with the crucial options out-of-bounds due to low screen resolution - press the “Tab” key twice and then the “Enter” key to proceed.
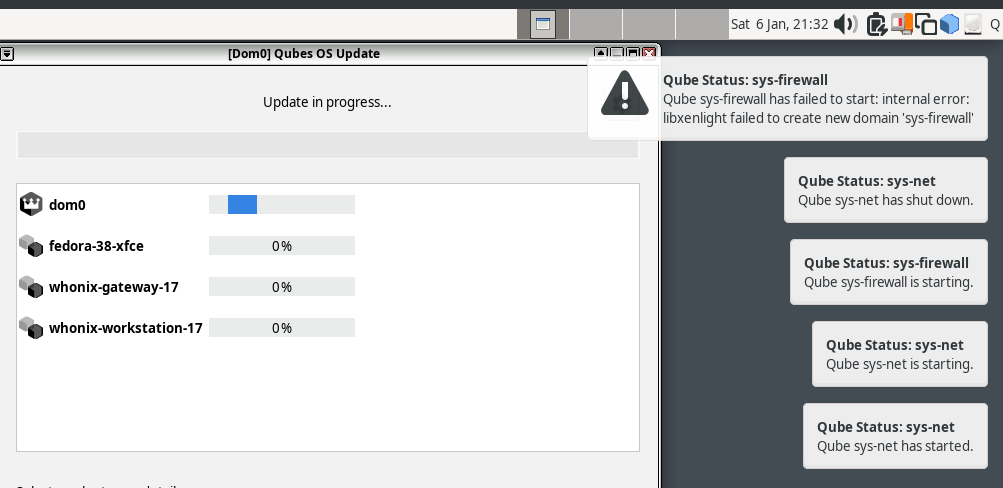
The “INSTALLATION PROGRESS” screen will show up. Wait until the installation is finished (it may take a long time) and a modal will pop up with the message:
['/usr/bin/qvm-start', 'sys-firewall'] failed:
stdout: ""
stderr: "Failed to start an HVM qube with PCI devices assigned - hardware does not support IOMMU/VT-d/AMD-Vi
"
This is normal in the case of this laboratory - sys-firewall can’t start as sys-net couldn’t start. Proceed with “OK” and login to the desktop session.
Post-installation tweaks
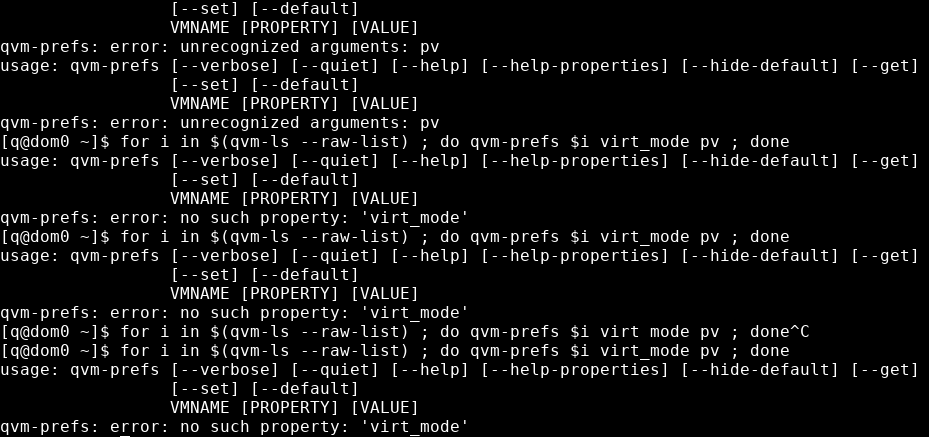
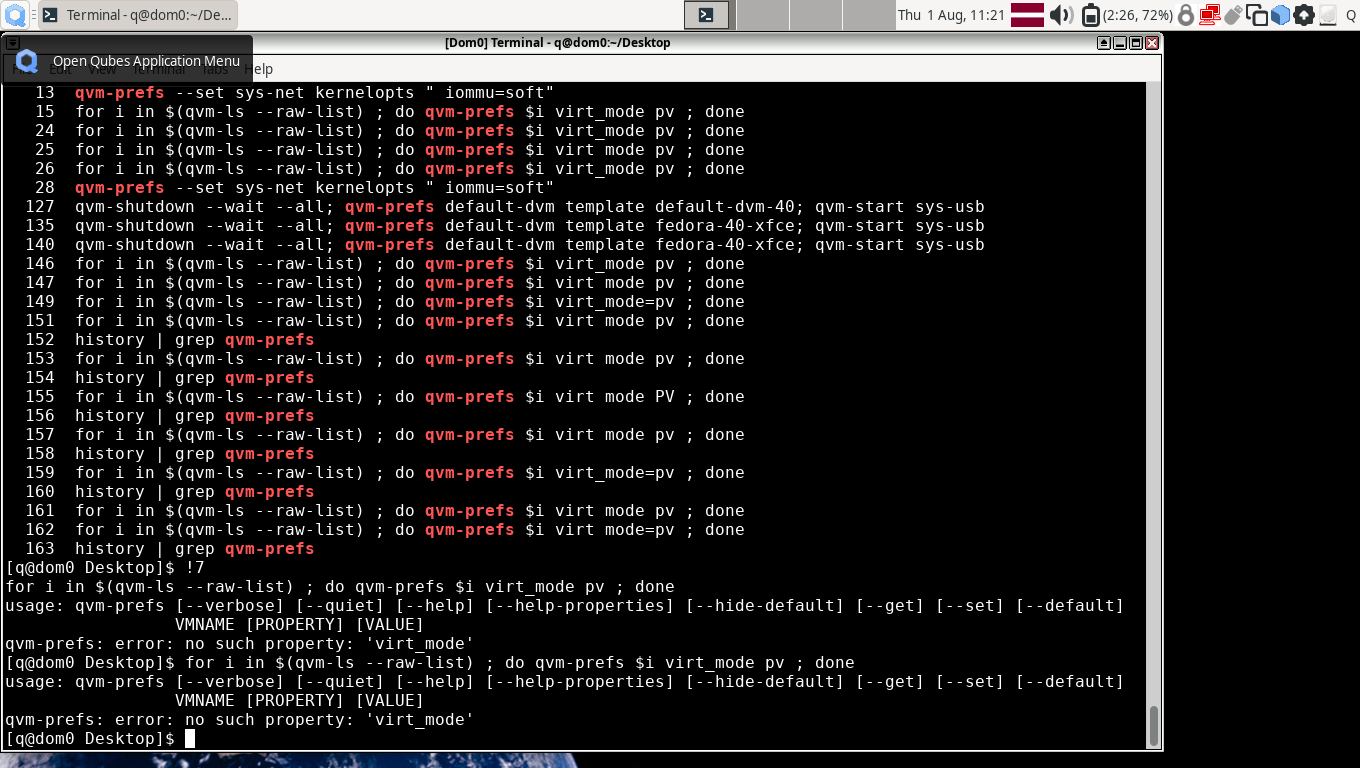
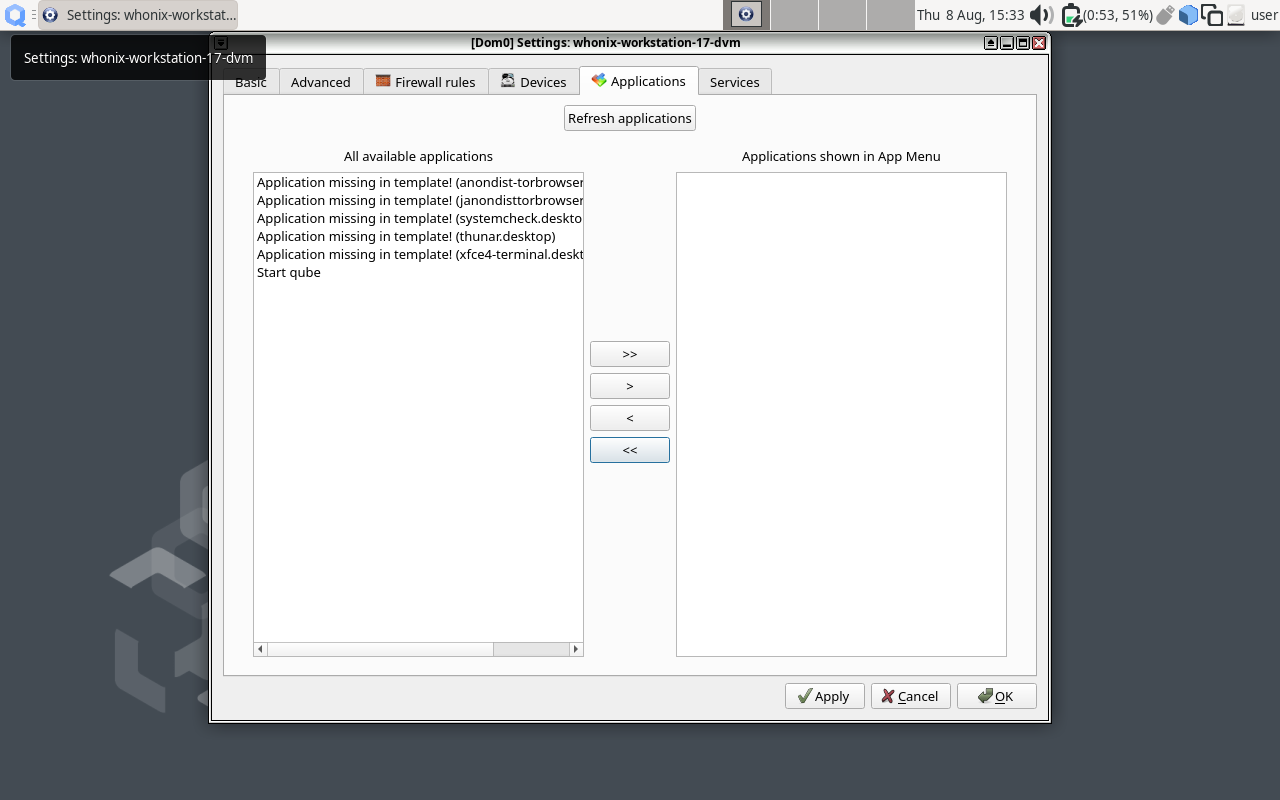
Switch all domains from using PVH or HVM virtualization modes to use PV instead. You can do this manually through Qube Manager or automate it with qvm-prefs, for instance:
[user@dom0 ~]$ for i in $(qvm-ls --raw-list) ; do qvm-prefs $i virt_mode pv ; done
Next, apply these workarounds for sys-net:
[user@dom0 ~]$ qvm-features sys-net pci-e820-host False
[user@dom0 ~]$ qvm-prefs --set sys-net kernelopts " iommu=soft"
Next, switch to the root user and edit /etc/default/grub by adding:
qubes.enable_insecure_pv_passthroughtoGRUB_CMDLINE_LINUXpv-l1tf=falsetoGRUB_CMDLINE_XEN_DEFAULT
for instance:
[root@dom0 ~]# cat /etc/default/grub
GRUB_TIMEOUT=5
GRUB_DISTRIBUTOR="$(sed 's, release .*$,,g' /etc/system-release)"
GRUB_DEFAULT=saved
GRUB_DISABLE_SUBMENU=false
GRUB_TERMINAL_OUTPUT="console"
GRUB_CMDLINE_LINUX="rd.lvm.lv=qubes_dom0/root rd.lvm.lv=qubes_dom0/swap plymouth.ignore-serial-consoles rd.net.dhcp.vendor-class=anaconda-Linux 6.1.43-1.qubes.fc37.x86_64 x86_64 rd.driver.pre=btrfs rhgb quiet qubes.enable_insecure_pv_passthrough"
GRUB_DISABLE_RECOVERY="true"
GRUB_THEME="/boot/grub2/themes/qubes/theme.txt"
GRUB_CMDLINE_XEN_DEFAULT="console=none dom0_mem=min:1024M dom0_mem=max:4096M ucode=scan smt=off gnttab_max_frames=2048 gnttab_max_maptrack_frames=4096 pv-l1tf=false"
GRUB_DISABLE_OS_PROBER="true"
GRUB_CMDLINE_LINUX="$GRUB_CMDLINE_LINUX rd.qubes.hide_all_usb"
then run grub2-mkconfig -o /etc/grub2-efi.cfg and reboot.
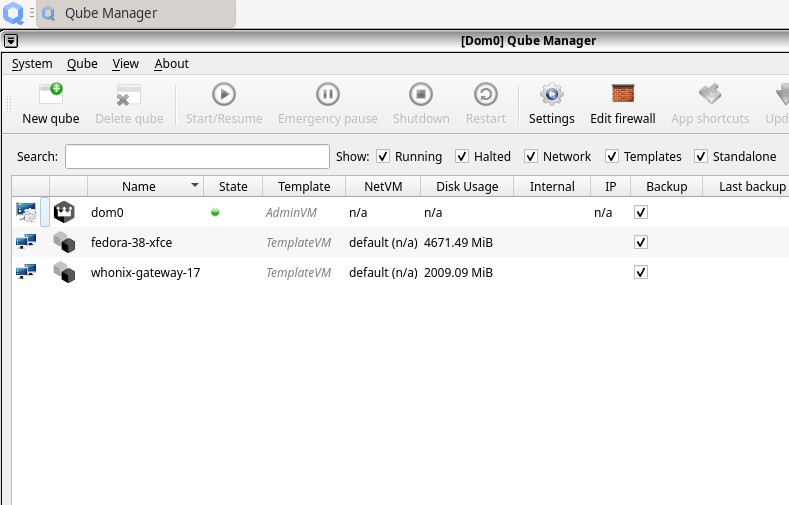
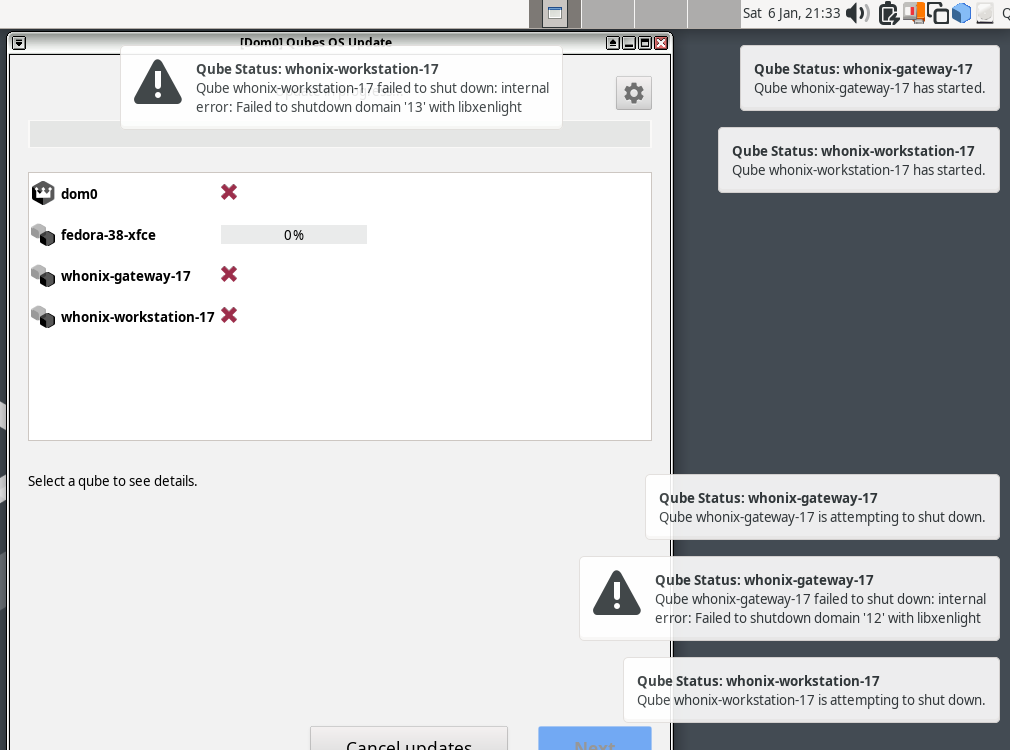
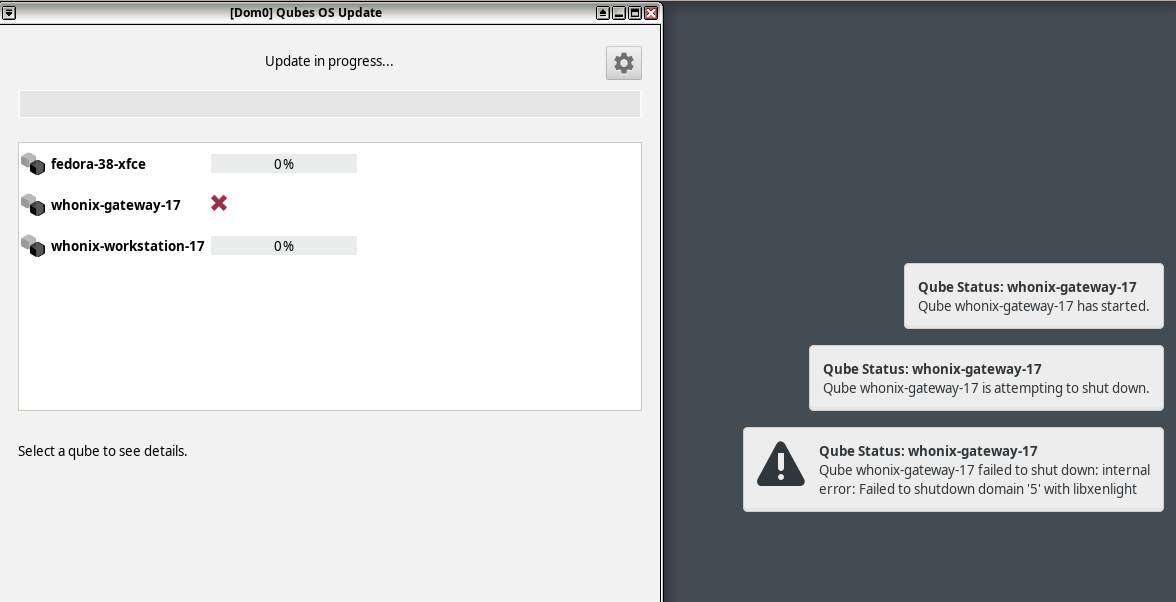
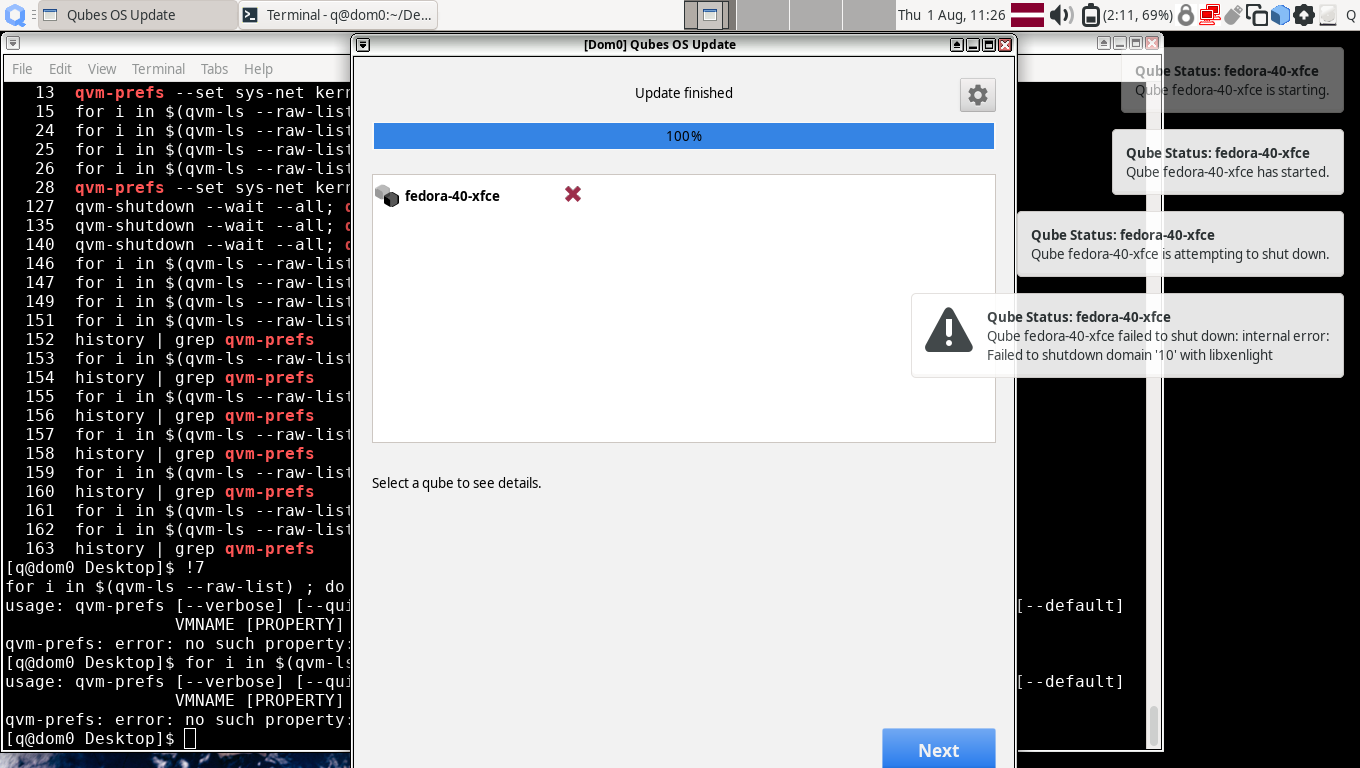
The results
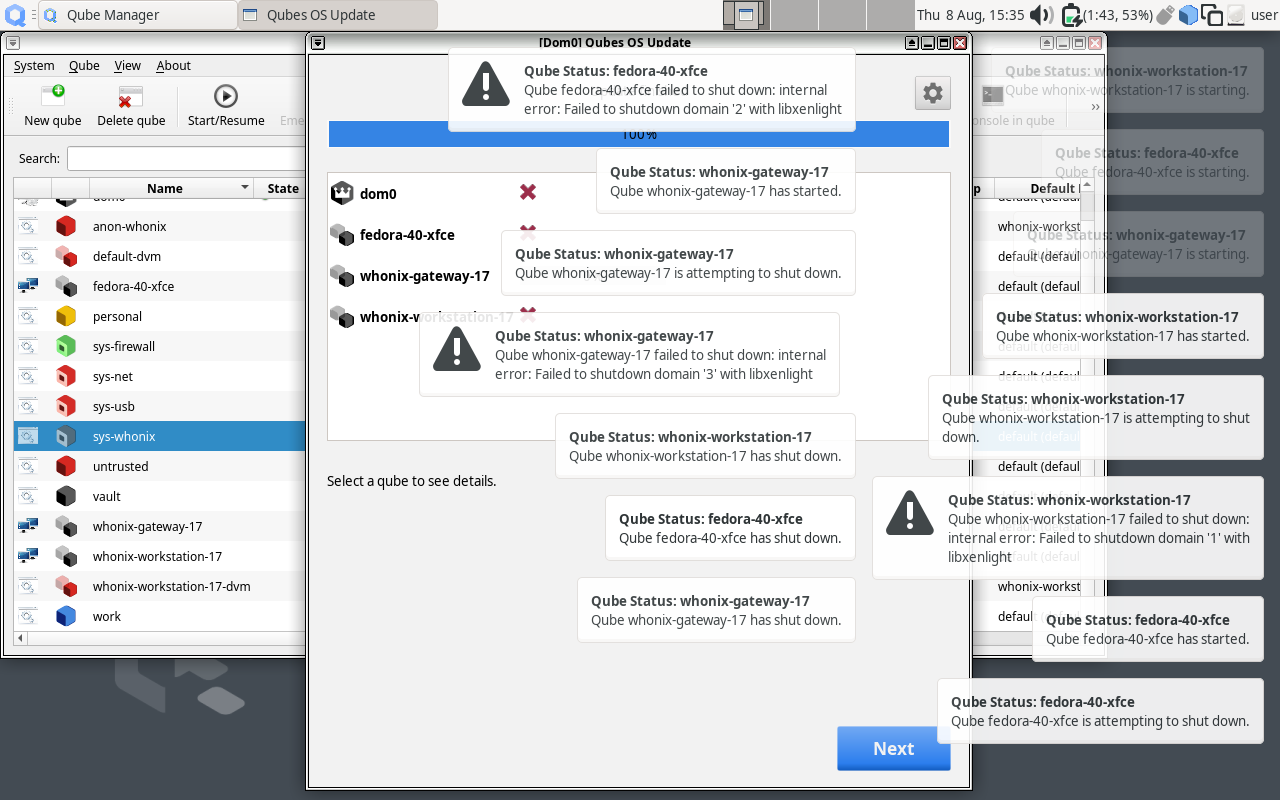
Once rebooted, log in to the desktop and wait for all autostarting qubes to start. You shall be able to play around in the graphical session and have a working Internet connection in your system. Have fun!
Licensed under the Creative Commons Attribution-ShareAlike 4.0 International license.
© 2023 Kamil Aronowski