I don’t think that’s possible under the Qubes security model. However, you can move the png file from the Pictures folder in dom0 to the qube using qvm-move-to-vm <qube> filename.
I don’t remember where I found this (probably somewhere on this forum), but credit to whoever originally shared it. I’ve been using it and it’s surprisingly handy, even if it’s not perfect.
On dom0 ~/bin/screenshot_VM.sh:
#!/bin/sh
# lets the user take a screenshot based on rectangular selection and sends it to the currently focused VM

CUR_WIN_ID=`xdotool getwindowfocus`
CUR_VM=`xprop _QUBES_VMNAME -id $CUR_WIN_ID | cut -d \" -f 2`

if [[ "$CUR_VM" != "_QUBES_VMNAME:  not found." ]]; then
	xfce4-screenshooter -r -o "qvm-copy-to-vm $CUR_VM"
	notify-send "Screenshot sent!" "Your selection has been sent as a screenshot to $CUR_VM!"
fi
Then just bind it to the Print Screen key in xfce4-keyboard-settings, or whichever key you prefer.
In English:
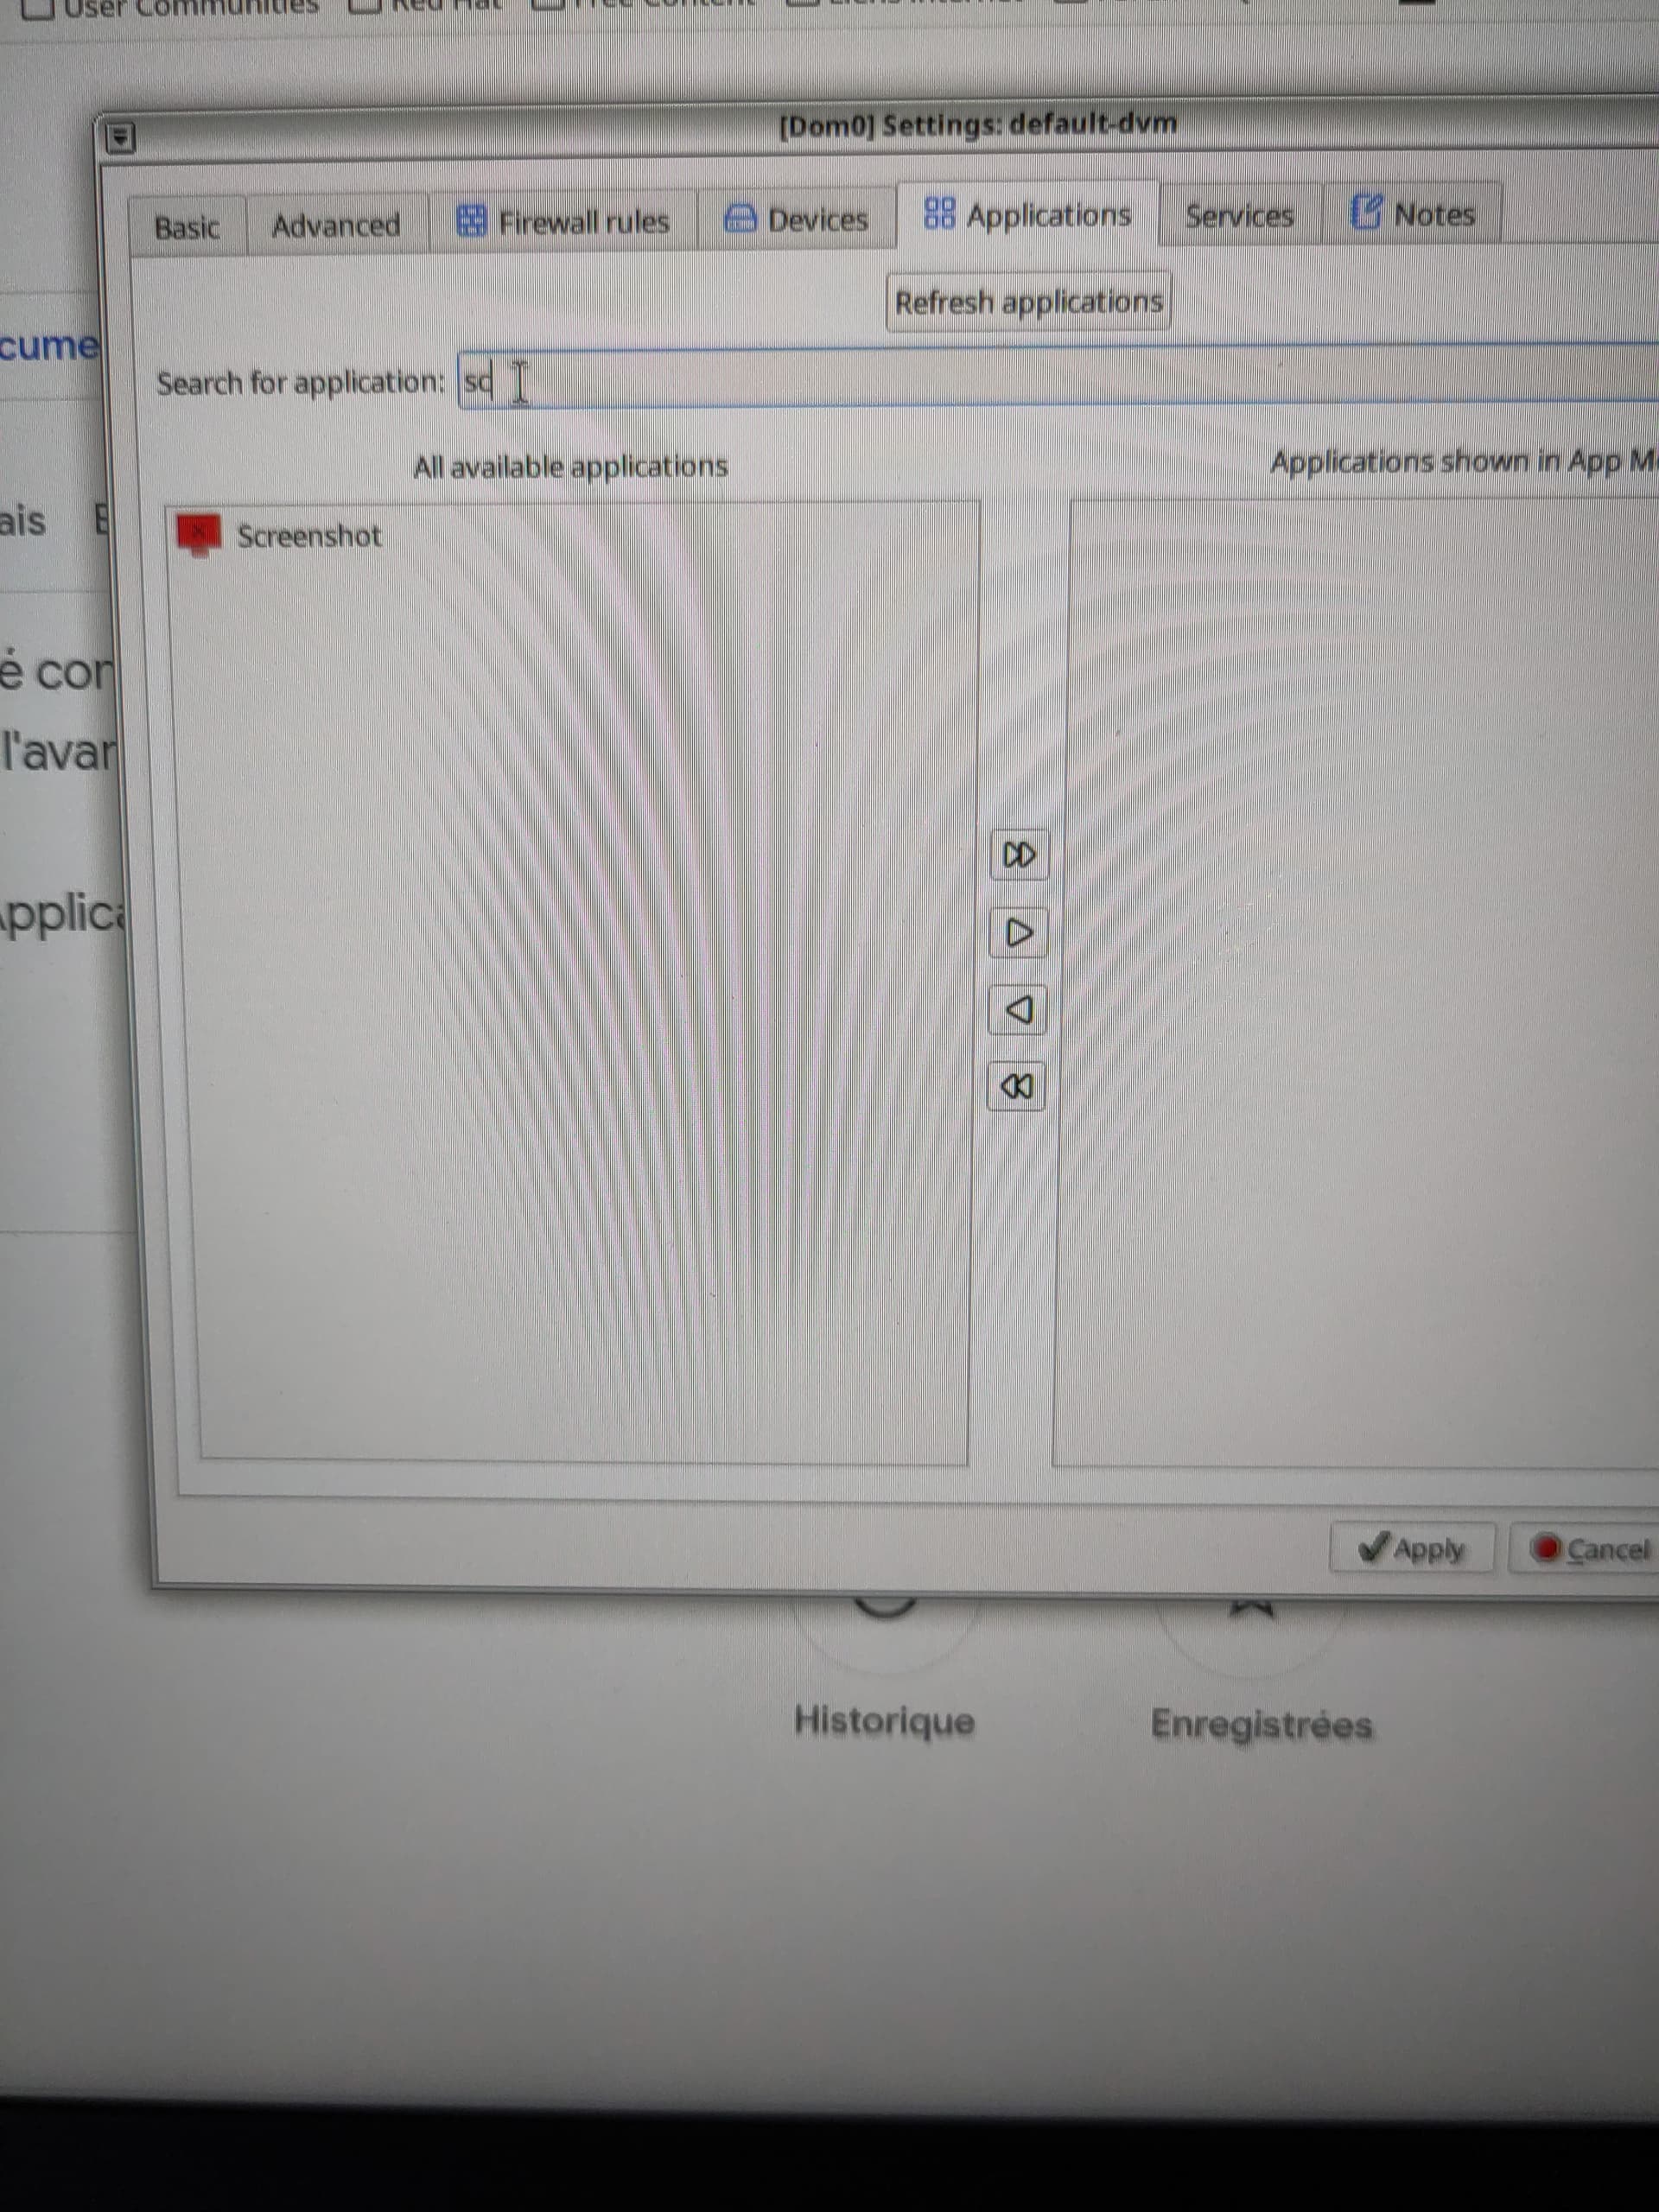
Hi everyone. I figured out how to take a screenshot in the “Default dvm” Qube, which has the advantage of having an internet connection. Here’s the tutorial:
Click on “Open Qubes Application Menu”.
Click on the “default-dvm” Qube.
Click on Settings.
In the “Search for application” field, type “screenshot”.
In “All available applications”, click on “Screenshot”. Click the “Add selected” button to add the “Screenshot” application to the “Application shown in App Menu”.
Then click the “OK” button.
Repeat the same steps with the following applications:
Clipboard Manager.
Thunar File Manager.
See the images.
En français / in french:
Salut tout le monde. J’ai trouvé comment faire une capture d’écran dans le "qube “Default dvm” qui a l’avantage d’avoir une connection internet. Voici tutoriel:
Cliquez sur “Open Qubes Application Menu”.
Cliquez sur le qube “default-dvm”
Cliquez sur Settings
Dans la zone de saisie “Search for application”, tapez en anglais “screenshot” qui se traduit par “capture d’écran” en français.
Dans la “All available applications”, puis cliquez sur “Screenshot”. Cliquez sur le bouton “Add selected” pour ajouté l’application “Screenshot” dans la zone “Application shown in App Menu”.
Ensuite cliquez sur le bouton “OK”.
Répétez les même actions avec les applications:
-Clipboard Manager (Gestionnaire du presse papier en français).
-Thunar File Manager (Gestionnaire de fichier en français).
Regardez les images.