VLESS obfuscation VPN
The goal is to create a proxy VM, routing all traffic through a remote server
via VLESS protocol. The protocol mimics a long-running https session of Chrome
and is hard to detect by DPI systems. It is needed when wireguard is blocked.
See also: How to use wireguard in Qubes.
Setting up the server
This part is based on the article from habr.com (in Russian).
Install
wget https://github.com/XTLS/Xray-core/releases/download/v1.8.1/Xray-linux-64.zip
sha256sum Xray-linux-64.zip
7b0584f0a89b155a8d54cbb5f78f94c2ec04a6caadcd2edb2268bdb9f8e7bb1e  Xray-linux-64.zip
mkdir /opt/xray
unzip ./Xray-linux-64.zip -d /opt/xray
chmod +x /opt/xray/xray
vim /usr/lib/systemd/system/xray.service
systemctl enable xray
Write to /usr/lib/systemd/system/xray.service:
[Unit]
Description=Xray Service
Documentation=https://github.com/xtls
After=network.target nss-lookup.target

[Service]
User=nobody
CapabilityBoundingSet=CAP_NET_ADMIN CAP_NET_BIND_SERVICE
AmbientCapabilities=CAP_NET_ADMIN CAP_NET_BIND_SERVICE
NoNewPrivileges=true
ExecStart=/opt/xray/xray run -config /opt/xray/config.json
Restart=on-failure
RestartPreventExitStatus=23
LimitNPROC=10000
LimitNOFILE=1000000

[Install]
WantedBy=multi-user.target
Improve performance:
echo "net.core.default_qdisc=fq" >> /etc/sysctl.conf
echo "net.ipv4.tcp_congestion_control=bbr" >> /etc/sysctl.conf
sysctl -p
Generate parameters
Choose popular domain name which is not blocked and not suspicious,
ideally hosting in the provider hosting your server.
Here we will use dl.google.com.
Let’s say the external IP address of your server is 1.2.3.4.
Generate keys:
$ /opt/xray/xray uuid
96b2d74b-442c-42f1-ba2a-171387270227       <-- User ID
$ /opt/xray/xray x25519
Private key: OGhyT8zDmW2_omke7z84lJA0EsoDJ6Bdmm1eEt00hGE
Public key: U2qtkS5yxwxjDL48X_OPn39Zf_MWYlVQLk4oBr6R_io
$ openssl rand -hex 8
16423edce09410f7                           <-- Short ID
User ID and Public key are the same for all users of the server.
For each client you should generate new Short ID.
Write config
Write to /opt/xray/config.json:
{
  "log": {
    "loglevel": "none"
  },
  "routing": {
    "rules": [],
    "domainStrategy": "AsIs"
  },
  "inbounds": [
    {
      "port": 443,
      "protocol": "vless",
      "tag": "vless_tls",
      "settings": {
        "clients": [
          {
            "id": "96b2d74b-442c-42f1-ba2a-171387270227",
            "email": "user1@myserver",
            "flow": "xtls-rprx-vision"
          }
        ],
        "decryption": "none"
      },
      "streamSettings": {
        "network": "tcp",
        "security": "reality",
        "realitySettings": {
          "show": false,
          "dest": "dl.google.com:443",
          "xver": 0,
          "serverNames": [
            "dl.google.com"
          ],
          "privateKey": "OGhyT8zDmW2_omke7z84lJA0EsoDJ6Bdmm1eEt00hGE",
          "minClientVer": "",
          "maxClientVer": "",
          "maxTimeDiff": 0,
          "shortIds": [
            "16423edce09410f7"
          ]
        }
      },
      "sniffing": {
        "enabled": false,
        "destOverride": [
          "http",
          "tls"
        ]
      }
    }
  ],
  "outbounds": [
    {
      "protocol": "freedom",
      "tag": "direct"
    },
    {
      "protocol": "blackhole",
      "tag": "block"
    }
  ]
}
Make sure to replace things:
dl.google.comwith the site you have chosen96b2d74b-442c-42f1-ba2a-171387270227with your User IDOGhyT8zDmW2_omke7z84lJA0EsoDJ6Bdmm1eEt00hGEwith your Private Key16423edce09410f7with your Short ID
Start the server
systemctl restart xray
Make sure the server pretends to be dl.google.com
In some machine, put the following to /etc/hosts.
1.2.3.4 dl.google.com
Open “dl.google.com” in browser on that machine.
It should work properly.
Now shutdown the server:
systemctl stop xray
The site should stop working.
Now start it again:
systemctl start xray
Remove the line from /etc/hosts.
Setting up proxy VM on Qubes
Install software
Create new qube, check box “provides network access to other qubes”.
Let’s call the VM “vless”.
In that VM you need to download sing-box binary and write config for it.
I will put the binary and the config to the home directory /home/user.
cd
wget https://github.com/SagerNet/sing-box/releases/download/v1.3.6/sing-box-1.3.6-linux-amd64v3.tar.gz
sha256sum sing-box-1.3.6-linux-amd64v3.tar.gz
10f0c2f12e594af112594af9e54fae0c0d79cd91d2460d09377a89176a24141f  sing-box-1.3.6-linux-amd64v3.tar.gz
tar -xf sing-box-1.3.6-linux-amd64v3.tar.gz
mv sing-box-1.3.6-linux-amd64v3/sing-box .
Configure
Write config in file sing-box-config.json in directory /home/user:
{
  "dns": {
    "independent_cache": true,
    "rules": [
      {
        "query_type": [
          32,
          33
        ],
        "server": "dns-block"
      },
      {
        "domain_suffix": ".lan",
        "server": "dns-block"
      }
    ],
    "servers": [
      {
        "address": "https://8.8.8.8/dns-query",
        "detour": "proxy",
        "strategy": "",
        "tag": "dns-remote"
      }
    ]
  },
  "inbounds": [
    {
      "auto_route": true,
      "domain_strategy": "",
      "endpoint_independent_nat": true,
      "inet4_address": "172.19.0.1/28",
      "interface_name": "nekoray-tun",
      "mtu": 1500,
      "sniff": true,
      "sniff_override_destination": false,
      "stack": "gvisor",
      "strict_route": false,
      "tag": "tun-in",
      "type": "tun"
    }
  ],
  "log": {
    "level": "info"
  },
  "outbounds": [
    {
      "domain_strategy": "",
      "flow": "xtls-rprx-vision",
      "packet_encoding": "xudp",
      "server": "1.2.3.4",
      "server_port": 443,
      "tag": "proxy",
      "tls": {
        "alpn": [
          "h2"
        ],
        "enabled": true,
        "reality": {
          "enabled": true,
          "public_key": "U2qtkS5yxwxjDL48X_OPn39Zf_MWYlVQLk4oBr6R_io",
          "short_id": "16423edce09410f7"
        },
        "server_name": "dl.google.com",
        "utls": {
          "enabled": true,
          "fingerprint": "chrome"
        }
      },
      "type": "vless",
      "uuid": "96b2d74b-442c-42f1-ba2a-171387270227"
    },
    {
      "tag": "dns-remote",
      "type": "dns"
    }
  ],
  "route": {
    "auto_detect_interface": true,
    "final": "proxy",
    "rules": [
      {
        "outbound": "dns-remote",
        "protocol": "dns"
      }
    ]
  }
}
Make sure to replace things:
1.2.3.4with actual IP address of the serverdl.google.comwith the site you have chosen96b2d74b-442c-42f1-ba2a-171387270227with your User IDU2qtkS5yxwxjDL48X_OPn39Zf_MWYlVQLk4oBr6R_iowith your Public Key16423edce09410f7with your Short ID
This config sends all traffic through the server, including DNS requests which
are served by Google DNS. DNS traffic is also sent through the server.
If you don’t need DNS part, you can remove parts of the config related to DNS.
Try
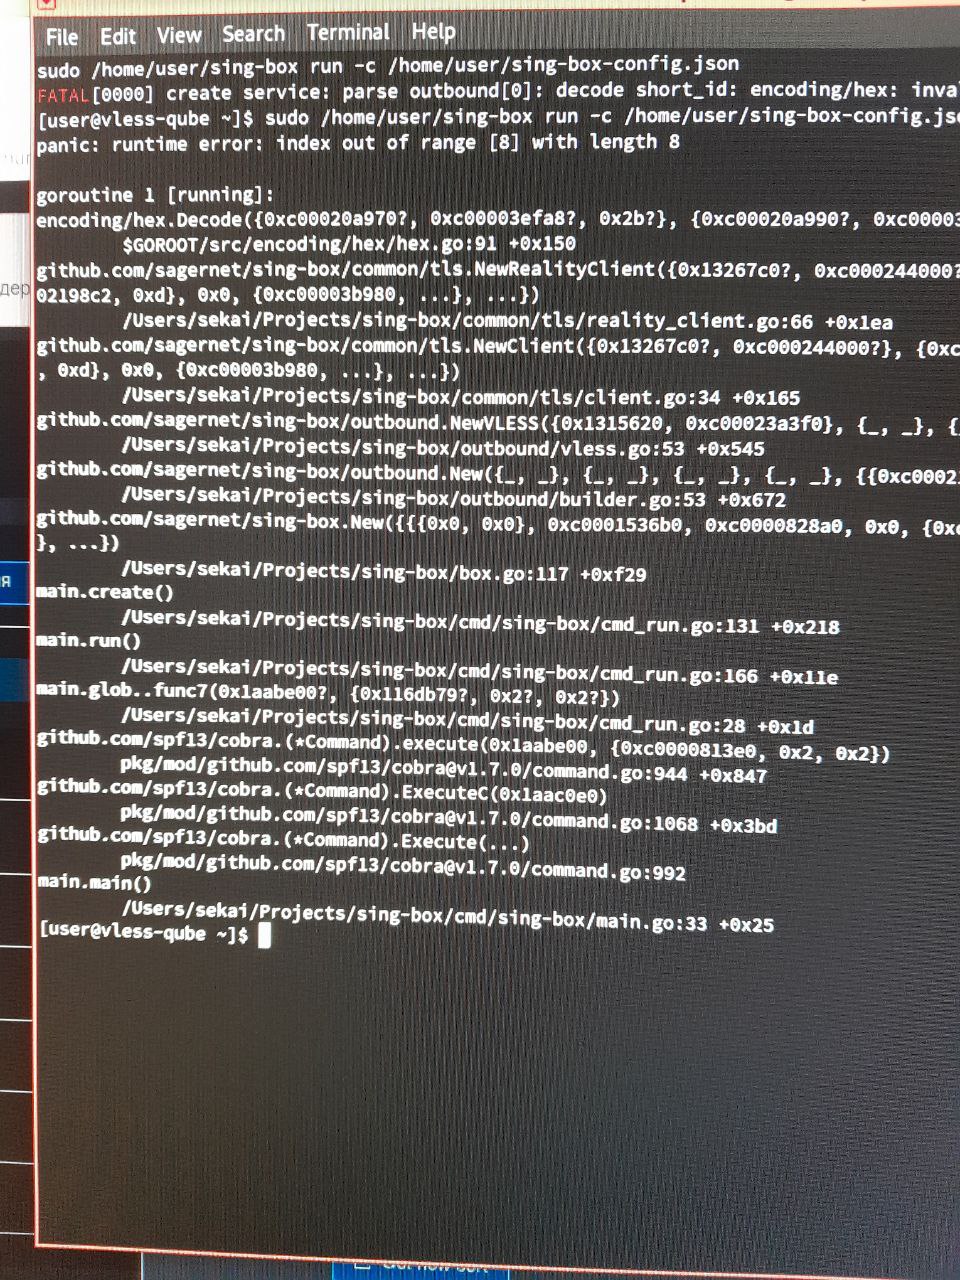
Run the command:
sudo /home/user/sing-box run -c /home/user/sing-box-config.json
Check your IP:
$ curl ip4.me/api/
IPv4,1.2.3.4,v1.1,,,See http://ip6.me/docs/ for api documentation
You should see your server’s IP address in the output.
Setup auto run
Write to /rw/config/rc.local:
/home/user/sing-box run -c /home/user/sing-box-config.json
Then chmod +x /rw/config/rc.local
Setup Qubes firewall
Then go to Qubes firewall settings of vless qube and limit
outgoing connections to TCP 1.2.3.4:443.
(Replace 1.2.3.4 with actual IP address of the server.)
Then do to dom0 console and use qvm-firewall command to remove unneeded exceptions for ICMP and DNS:
$ qvm-firewall vless
... 4 rules, including unwanted DNS and ICMP rules ...
$ qvm-firewall vless del --rule-no 1
$ qvm-firewall vless del --rule-no 1
$ qvm-firewall vless
... 2 rules ...
Restart the qube and make sure it still works.
Put another qube behind vless and make sure it has network access
and has IP address of the server.
On Android
Install APK from Github releases.
Modify the following link, replacing with your values:
vless://96b2d74b-442c-42f1-ba2a-171387270227@1.2.3.4:443/?type=tcp&encryption=none&flow=xtls-rprx-vision&sni=dl.google.com&alpn=h2&fp=chrome&security=reality&pbk=U2qtkS5yxwxjDL48X_OPn39Zf_MWYlVQLk4oBr6R_io&sid=16423edce09410f7&packetEncoding=xudp#conn1
Replace things:
1.2.3.4with actual IP address of the serverdl.google.comwith the site you have chosen96b2d74b-442c-42f1-ba2a-171387270227with your User IDU2qtkS5yxwxjDL48X_OPn39Zf_MWYlVQLk4oBr6R_iowith your Public Key16423edce09410f7with your Short ID (you need new Short ID, not the same you used in Qubes)
Then import the link to the app: copy the link, click (+) button and
select “Import from clipboard”. Enable the tunnel by clicking pink
button in the bottom of the app.
If you are getting message like “failed to install VPN”, maybe you are using
another VPN on the phone already. You need to disable it first.
For other clients check the article from habr.com (in Russian).