After using OpenBSD as the main OS for 2-3 years I wanted to give Qubes OS another shot, but I still wanted to have Qube with full desktop experience of OpenBSD.
So here is my configuration of how I set up my OpenBSD qube with full 1080p resolution, and with audio and usb support. This config allows me (and possibly you) to use OpenBSD qube in full screen (desktop like experience) using gop, which is not available in OpenBSD Qube using SeaBIOS.
Setup (Qubes OS 4.2)
OVMF fixup
Before we can do anything, we need to fix uefi enabled HVMs.
As of 4.2, Qubes comes shipped with ovmf binaries that are not compatible with xen. Starting with edk2-stable202108, ovmf developers removed Xen support and moved it to the OvmfXen.
Qubes does not include those binaries compatible with xen, and instead, 4.2 is currently built with binaries from ovmf-edk package that does not support xen.
This causes uefi enabled HVMs on 4.2 to get stuck on Guest has not initialized the display (yet).
To fix that, we need to add compatible binaries ourselves by installing edk2-ovmf-xen package.
Luckily for us, it is available in fedora 37 repo. So in dom0, type the following:
$ sudo qubes-dom0-update edk2-ovmf-xen
This should add xen compatible ovmf binaries to /usr/share/edk2/xen/.
Next, we should replace the old ovmf.bin in /usr/libexec/xen/boot/ with the new ovmf.bin file from /usr/share/edk2/xen/. But before that, we should copy the existing ovmf.bin before replacing it (just in case).
$ sudo cp /usr/libexec/xen/boot/ovmf.bin /usr/libexec/xen/boot/ovmf.bin.old
$ sudo cp /usr/share/edk2/xen/OVMF.bin /usr/libexec/xen/boot/ovmf.bin
Now, all uefi enabled HVMs should work.
Note: This change will not affect any other qube, only HVMs with uefi feature enabled.
Download OpenBSD .iso file
First, we need to download the installation image for OpenBSD.
Go to OpenBSD’s snapshot directory, and download installX.iso, SHA256 and SHA256.sig files. Where ‘X’ represents the version number.
We won’t be using the current version of OpenBSD, which is 7.4. Instead, we are going to use snapshots.
Why? Because snapshot .iso images include EFI boot loaders that allow them to boot on EFI machines (no more hacky USB installs. yay!).
More info about that on mailing list
Verify the installation image
We need to check if the downloaded installX.iso file is valid. To do so, we need signify, and signify-openbsd-keys packages.
To install them, in the terminal of your appvm type the following (I’ll be using debian based appvms):
$ sudo apt install signify-openbsd signify-openbsd-keys
This should install the signify tool and add all required public keys used to verify the installation image.
Now that we have downloaded all of the required tools, we need to verify the installation image. This can be done with the following two lines:
$ sha256sum -c --ignore-missing SHA256
$ signify-openbsd -Cp /usr/share/signify-openbsd-keys/openbsd-x-base.pub -x SHA256.sig installX.iso

(Skip this if you are using appvm based on debian-12. openbsd-signify-keys package is out of date and it does not contain recent keys)
Output for the first command should be minirootX.iso: OK, and for the second command it should be Signature Verified minirootX.iso: OK
Creating qube
Go to Menu > Qube Manager > select “New Qube”
- Name: openbsd-vm
- Type: StandaloneVM (fully persistent)
- Template: (none)
- Networking: default
When a “Boot openbsd-vm from device” dialog shows up, choose your installX.iso file and click ok.
Then we need to halt the qube by either killing it from “Qubes Manager” or by typing “reboot” when OpenBSDs bootloader prompt shows up.
Enabling audio and usb support, and enabling uefi
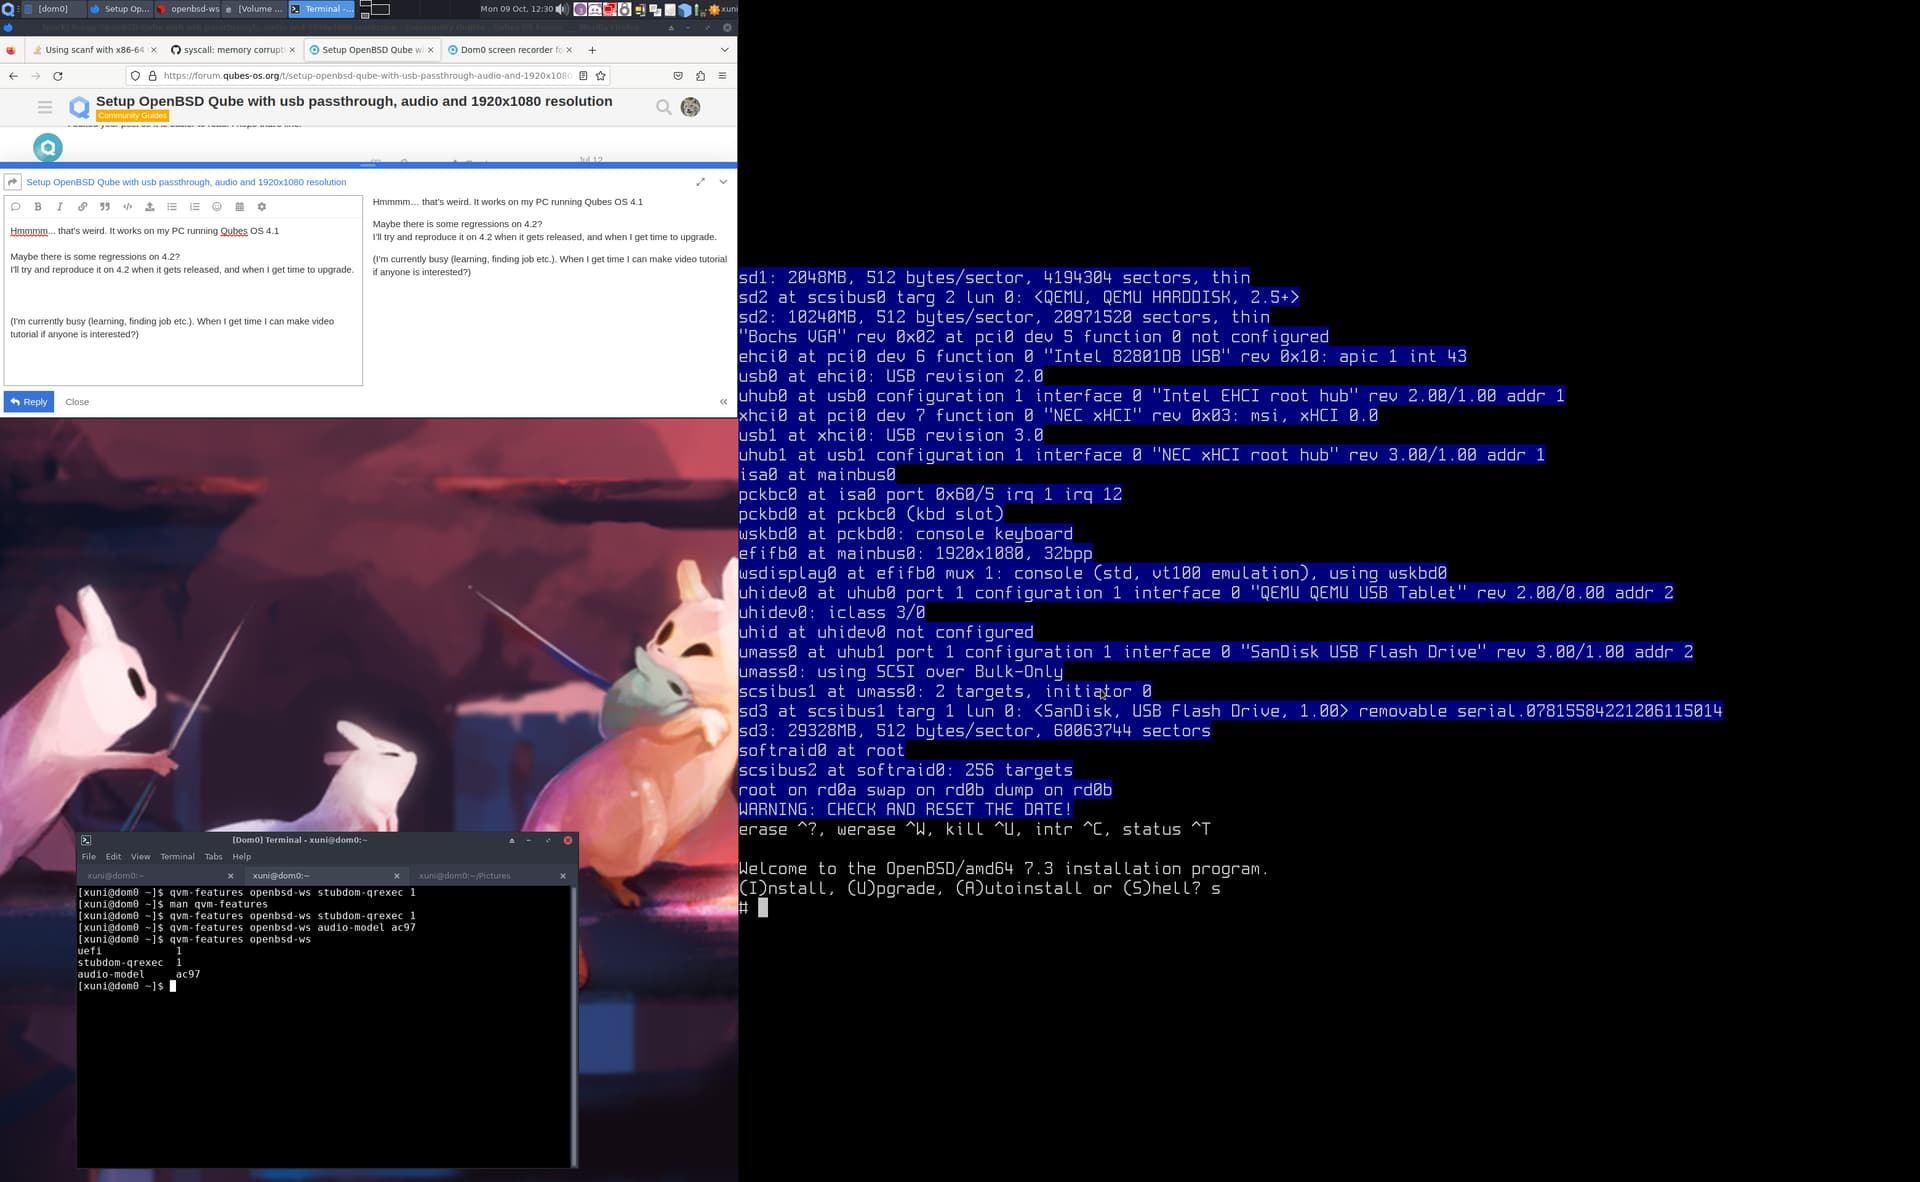
Audio and usb can be enabled using the following two commands in dom0:
$ qvm-features openbsd-vm audio-model ac97
$ qvm-features openbsd-vm stubdom-qrexec 1
And uefi:
$ qvm-features openbsd-vm uefi 1
Creating custom libvirt config
We need to modify libvirt configuration for this qube, as xbf driver causes kernel panic on OpenBSD when booting under UEFI.
This will make disks show as SATA disks instead of IDE disks when xbf driver is not loaded.
First, we need to make /etc/qubes/templates/libvirt/xen/by-name/ if it does not exist. In dom0 type:
$ sudo mkdir -p /etc/qubes/templates/libvirt/xen/by-name/
Then we need to copy the main config template (This copy will be used only when running vm named openbsd-vm):
$ sudo cp /usr/share/qubes/templates/libvirt/xen.xml /etc/qubes/templates/libvirt/xen/by-name/openbsd-vm.xml
Then find the following text (~line 123):
                <disk type="block" device="{{ device.devtype }}">
                    <driver name="phy" />
                    <source dev="{{ device.path }}" />
                    {% if device.name == 'root' %}
                        <target dev="xvda" />
                    {% elif device.name == 'private' %}
                        <target dev="xvdb" />
                    {% elif device.name == 'volatile' %}
                        <target dev="xvdc" />
                    {% elif device.name == 'kernel' %}
                        <target dev="xvdd" />
                    {% else %}
                        <target dev="xvd{{dd[counter.i]}}" />
                        {% if counter.update({'i': counter.i + 1}) %}{% endif %}
                    {% endif %}

                    {% if not device.rw %}
                        <readonly />
                    {% endif %}

                    {% if device.domain %}
                        <backenddomain name="{{ device.domain }}" />
                    {% endif %}
                    <script path="/etc/xen/scripts/qubes-block" />
                </disk>
And change it to this:
                <disk type="block" device="{{ device.devtype }}">
                    <driver name="phy" />
                    <source dev="{{ device.path }}" />
                    {% if device.name == 'root' %}
                        <target dev="sda" />
                    {% elif device.name == 'private' %}
                        <target dev="sdb" />
                    {% elif device.name == 'volatile' %}
                        <target dev="sdc" />
                    {% elif device.name == 'kernel' %}
                        <target dev="sdd" />
                    {% else %}
                        <target dev="sd{{dd[counter.i]}}" />
                        {% if counter.update({'i': counter.i + 1}) %}{% endif %}
                    {% endif %}

                    {% if not device.rw %}
                        <readonly />
                    {% endif %}

                    {% if device.domain %}
                        <backenddomain name="{{ device.domain }}" />
                    {% endif %}
                    <script path="/etc/xen/scripts/qubes-block" />
                </disk>
Installing OpenBSD
I won’t explain how to install OpenBSD here. You’re gonna need to do that by yourself.
But I will show the basic configuration that needs be to done so you can have a bootable system with proper resolution.
Install configuration
First, boot openbsd-vm with installX.iso (Qubes Manager → right click on openbsd-vm → settings → advanced → “boot qube from CD-rom”)
When you get to bootloader, type the following:
	machine gop 22
	boot -c
machine gop sets output of gop to specified mod/resolution (in our case, 1920x1080). Change this to number that represents resolution you want. see machine gop for all modes
boot -c causes the kernel to go into boot_config. Here we’ll disable some stuff.
When in boot_config, type the following:
	disable xbf
	quit
disable xbf disables xbf driver that causes panic on boot.
quit continues the boot.
Now, continue with installation.
First boot
On the first boot, when we get to the bootloader screen, we need to repeat the previous steps.
	machine gop 22
	boot -c
	disable xbf
	quit
It should now boot.
(If for some reason, qube boots back into installation, in dom0 type: qvm-block detach openbsd-vm vm-name:loop0)
Making changes persistent (See the update at the end of the paragraph)
After we boot into the system, we need to make our changes permanent so we don’t need to apply them every time we boot our qube.
This can be done using config.
Open your terminal and switch to root using su. Then type:
# config -e -o /bsd.new /bsd
Now, we can generate modified kernel with disabled xbf:
	disable xbf
	quit
And finally, we want to edit /etc/boot.conf so we can use that modified kernel and automatically set gop to specified mode.
	machine gop 22
	boot bsd.new
And, we’re done!
Update 13.4.2025
As @phantom suggested, it is better to use /etc/bsd.re-config to disable xbf driver (thanks <3).
echo 'disable xbf' > /etc/bsd.re-config
chmod 600 /etc/bsd.re-config
After the next reboot (you still need to manually disable xbf driver, one last time), the system will automatically configure the kernel that will be used for next boot. After that you won’t need to manually disable xbf driver, and kernel relinking will continue to work.
End of update
Old setup (for Qubes OS 4.1)
Old Tutorial for Qubes OS 4.1
- Create OpenBSD installation USB with image that includes sets. Qube VM won’t boot from .img file directly.
- Create a new Standalone VM named openbsd-vm.
- Enable audio and usb support (stubdomain).
	qvm-features openbsd-vm audio-model ac97
	qvm-features openbsd-vm stubdom-qrexec 1
- Enable UEFI in OpenBSD qube
qvm-features openbsd-vm uefi 1
-
We need to modify libvirt configuration for this qube, as xbf driver causes kernel panic on OpenBSD when booting under UEFI. This will make disks to show as SATA disks instead of IDE disks when xbf driver is not loaded.
4.1. Copy default config file.
sudo cp /usr/share/qubes/templates/libvirt/xen.xml /etc/qubes/templates/libvirt/xen/by-name/openbsd-vm.xml4.2. Modify below config segment in openbsd-vm.xml:
		from this:

                <disk type="block" device="{{ device.devtype }}">
                    <driver name="phy" />
                    <source dev="{{ device.path }}" />
                    {% if device.name == 'root' %}
                        <target dev="xvda" />
                    {% elif device.name == 'private' %}
                        <target dev="xvdb" />
                    {% elif device.name == 'volatile' %}
                        <target dev="xvdc" />
                    {% elif device.name == 'kernel' %}
                        <target dev="xvdd" />
                    {% else %}
                        <target dev="xvd{{dd[counter.i]}}" />
                        {% if counter.update({'i': counter.i + 1}) %}{% endif %}
                    {% endif %}

                    {% if not device.rw %}
                        <readonly />
                    {% endif %}

                    {% if device.domain %}
                        <backenddomain name="{{ device.domain }}" />
                    {% endif %}
                </disk>

		to this:
		<disk type="block" device="{{ device.devtype }}">
                    <driver name="phy" />
                    <source dev="{{ device.path }}" />
                    {% if device.name == 'root' %}
                        <target dev="sda" bus="virtio" />
                    {% elif device.name == 'private' %}
                        <target dev="sdb" bus="virtio" />
                    {% elif device.name == 'volatile' %}
                        <target dev="sdc" bus="virtio" />
                    {% elif device.name == 'kernel' %}
                        <target dev="sdd" bus="virtio" />
                    {% else %}
                        <target dev="sd{{dd[counter.i]}}" bus="virtio" />
                        {% if counter.update({'i': counter.i + 1}) %}{% endif %}
                    {% endif %}

                    {% if not device.rw %}
                        <readonly />
                    {% endif %}

                    {% if device.domain %}
                        <backenddomain name="{{ device.domain }}" />
                    {% endif %}
                </disk>
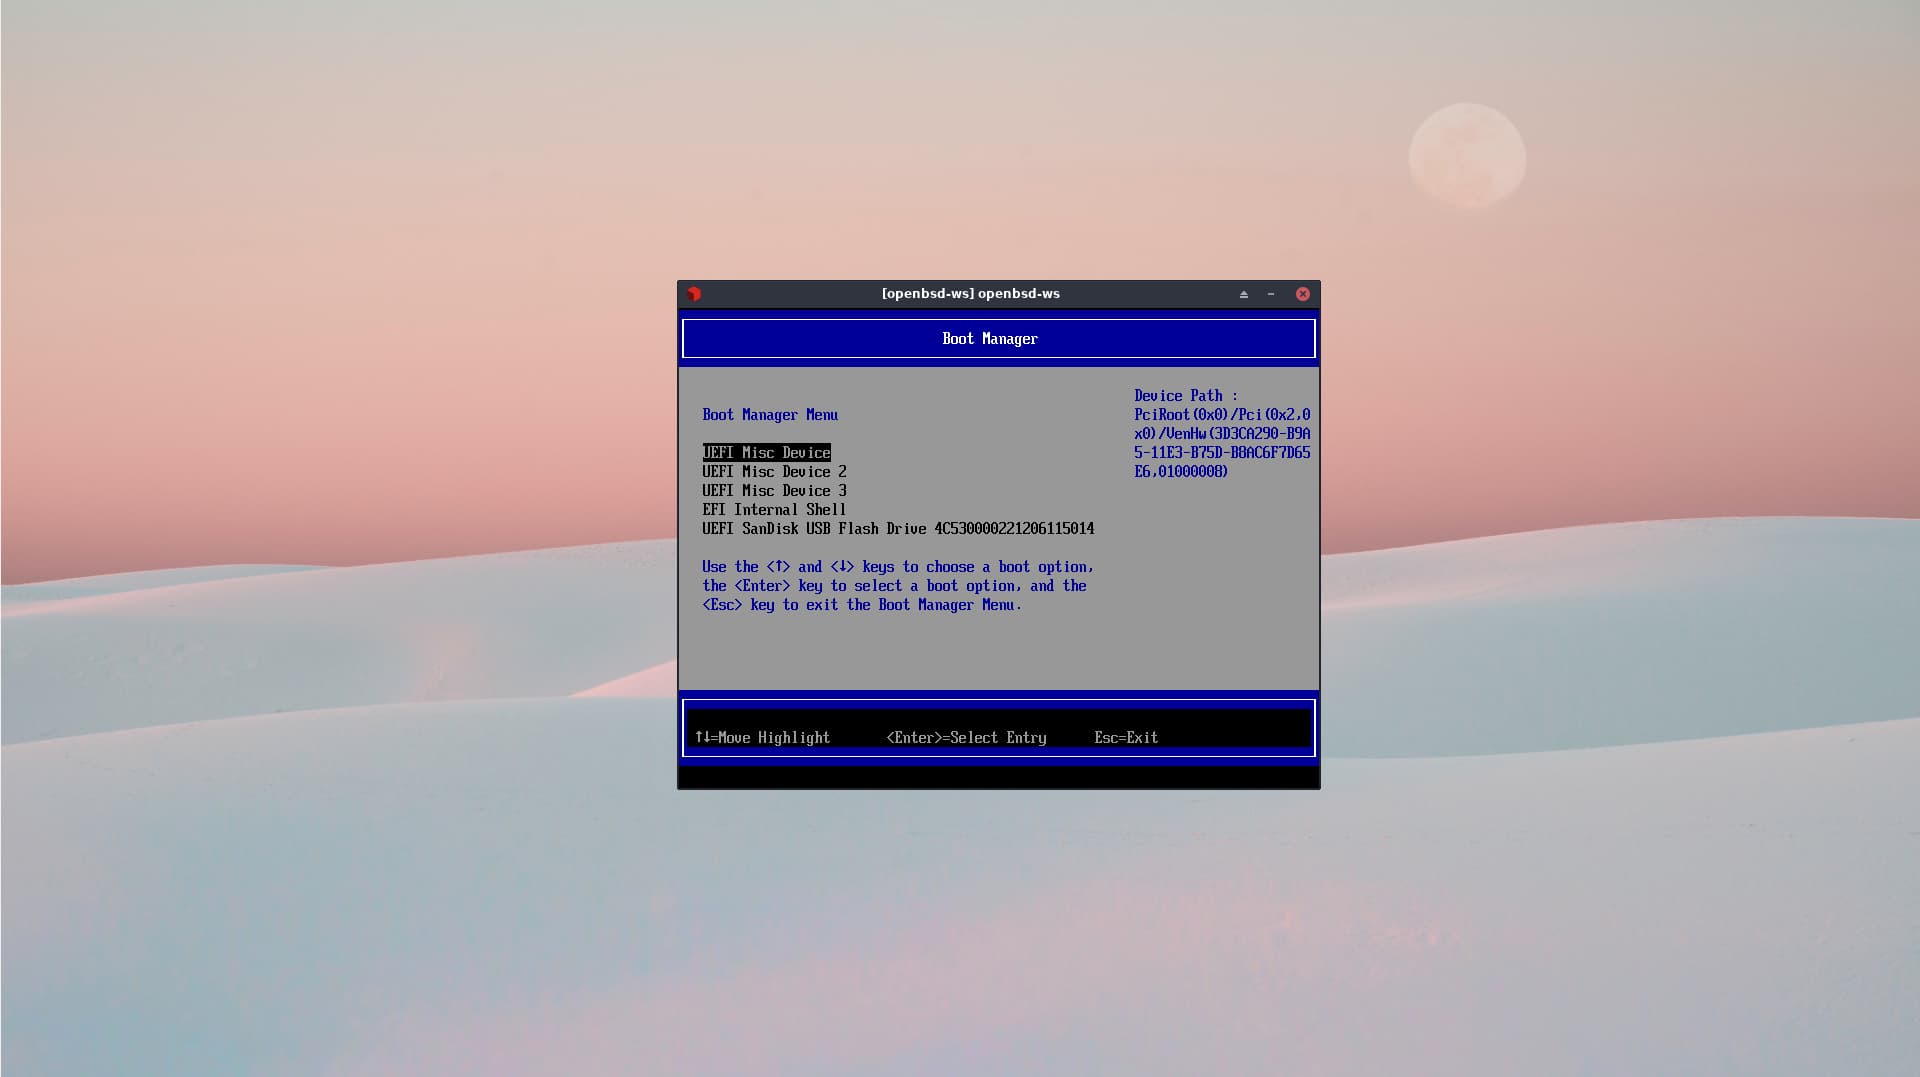
- Start qube and enter OVMF menu. Attach install USB to VM, and boot from it.
- When in bootloader, type:
	machine gop 22 -> sets output of gop to 1920x1080. Change this to number that
		represents resolution you want. see `machine gop` for all modes
	boot -c	-> Enter boot_config
- When in boot_config (mode after entering ‘boot -c’), disable xbf driver with
'disable xbf'then'quit'. - Continue with the installation as normal (i wont explain that here.)
- On first boot, repeat 6. and 7 as changes we did were not permanent (yet).
- Next we need to make kernel modifications permanent. this can be done with entering
config -e -o /bsd.new /bsdcommand as root
10.1. Typedisable xbfand thenquit. This will generate new modified kernel with disabled xbf driver. - After that we need to tell bootloader that we want to use a modified kernel with the automatic setting of gop. To do that, put the following in
/etc/boot.conf:machine gop 22 boot bsd.new - Thats it. You should now have Fully working OpenBSD Qube with working USB passthrough, audio and correct resolution for full screen usage.
- Known problems:
- Was unable to use microphone.
- There is unhandled scsi interrupt that happens when installing OpenBSD and when shutting down a Qube. It does not cause any problems and it is not shown under normal use.