How to setup OpenVPN + Fedora(AppVM) for OVPN

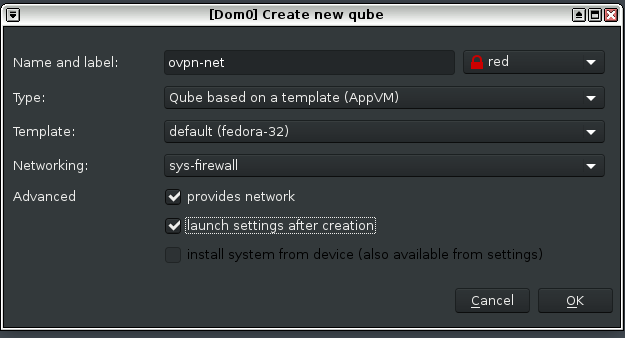
1. Create a new qube with these settings:

Type: AppVM
Template: Fedora
Networking: sys-firewall
Advanced: check “provides network” and “launch settings after creation”

1

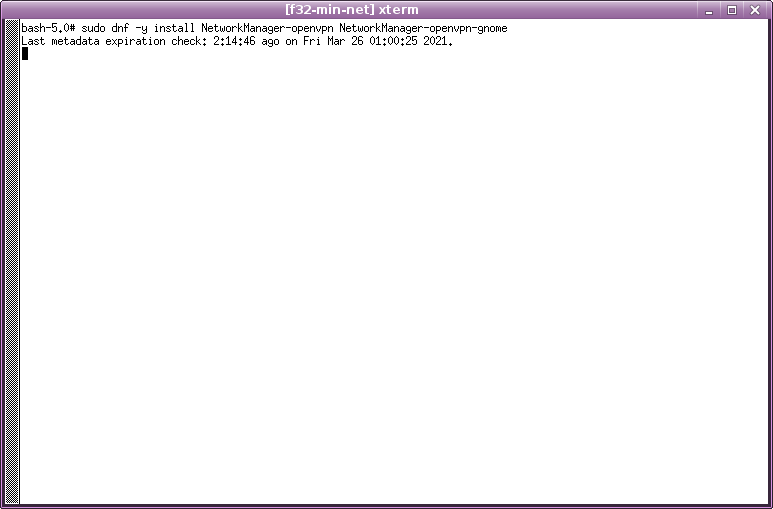
2. When the created-qube window settings showsup, go directly to tab “Services”
2.1 Select the service “network-manager” then click “+” to add the respective service
2.2 Check the “network-manager” field box then “Apply”“OK”

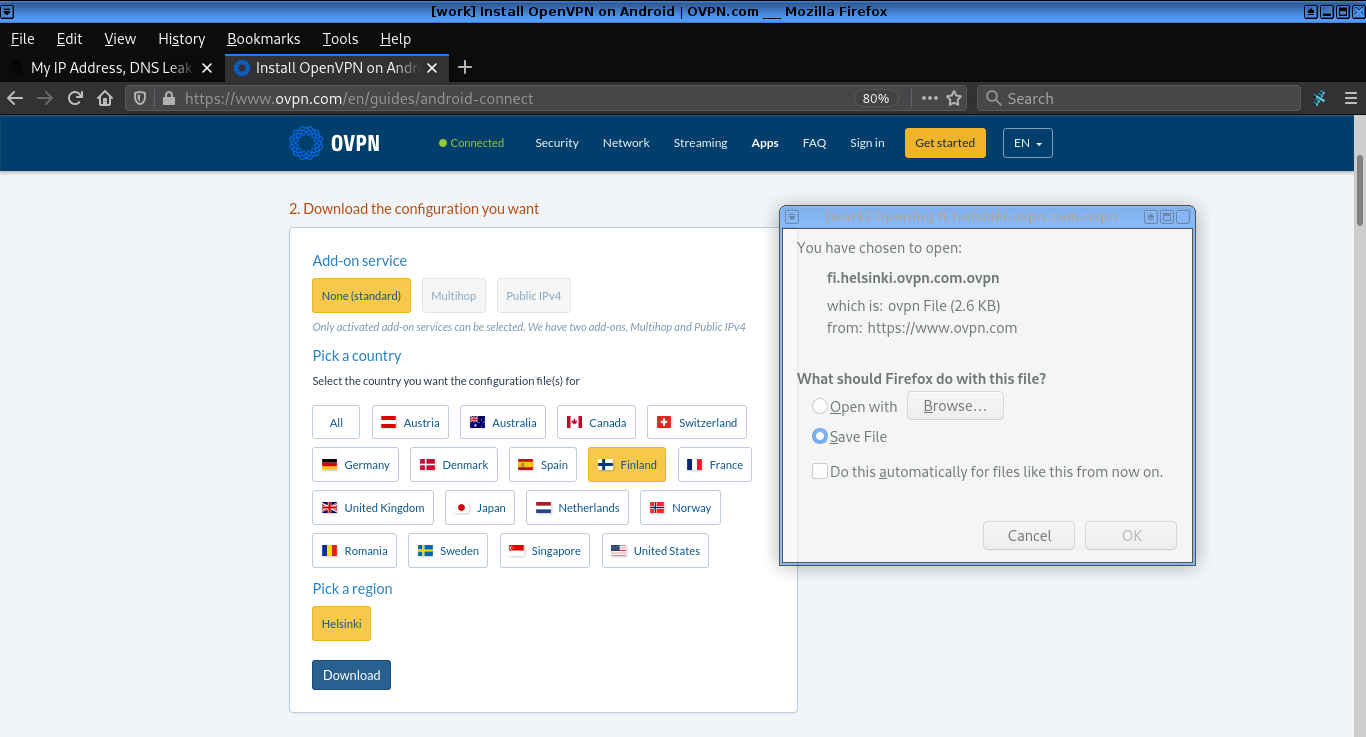
3. Download the vpn config file from ovpn website (this guide used the ‘finland’ ovpn config file)

4. Use the file manager to access the folder with the downloaded ovpn-config-file
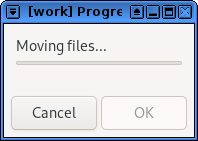
4.1 Move the file to the created-qubes-appvm

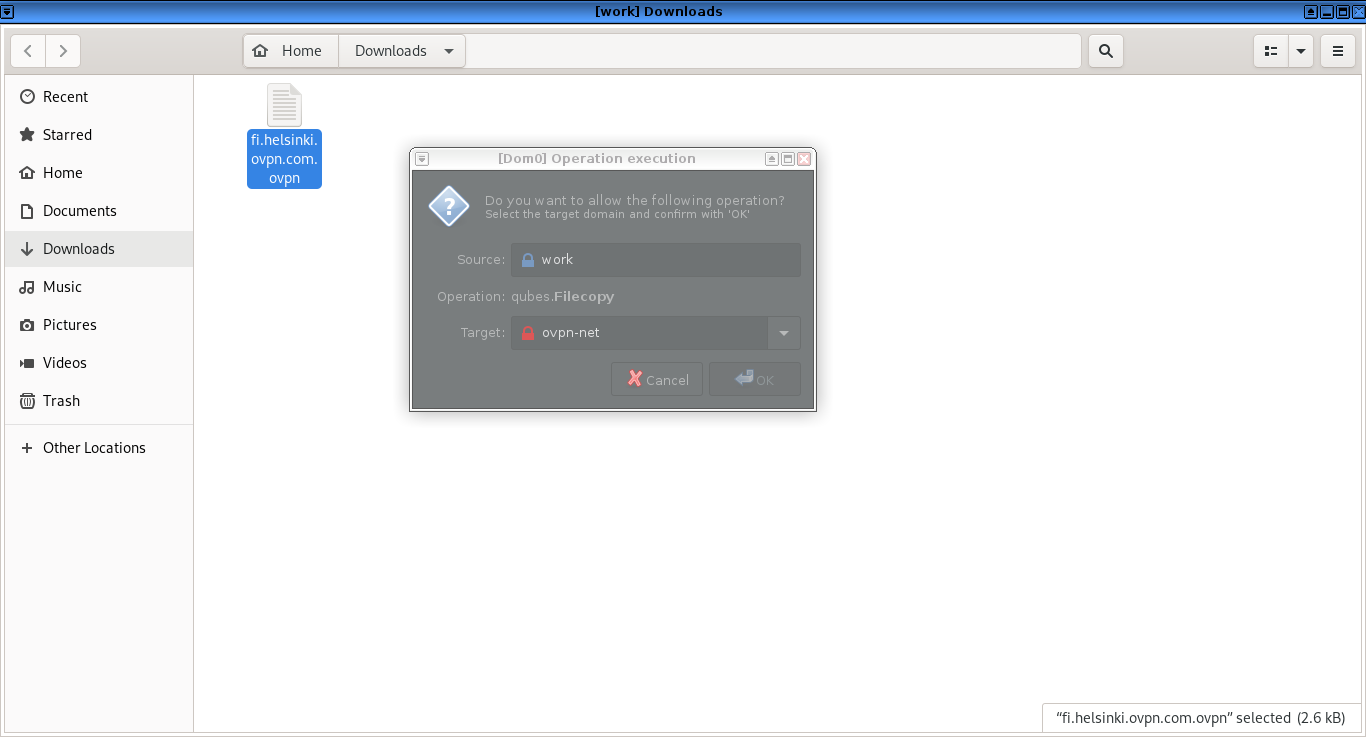
5. If you have done everything right then the created-qubes-appvm will start automatically and will receive ovpn-config-file.

7

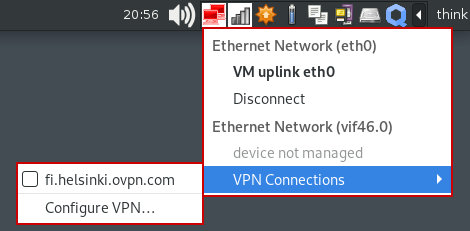
6. An ethernet network connection icon from the created-qube-appvm will show up on “notification area” after the appvm start.

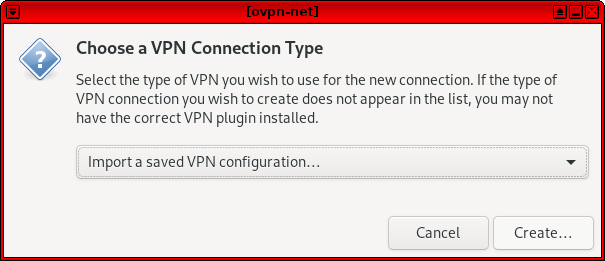
6.1 Select and go to: Ethernet Network → VPN Connections → *Add a VPN connection…

8

6.2 Choose “Import saved VPN configuration”

9

6.3 Browse to “QubesIncoming” directory and select the downloaded ovpn-config-file.

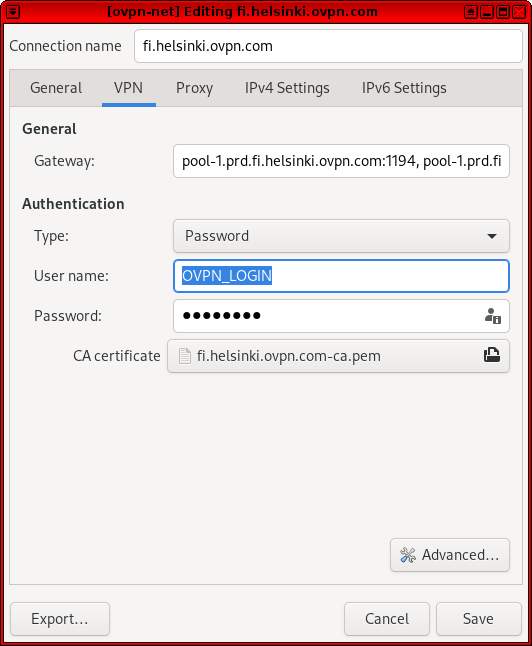
7. A window will show up with the ovpn configuration, select the “VPN” tab
7.1 On the “Authentication” field type your “ovpn login” and “password” then “SAVE”

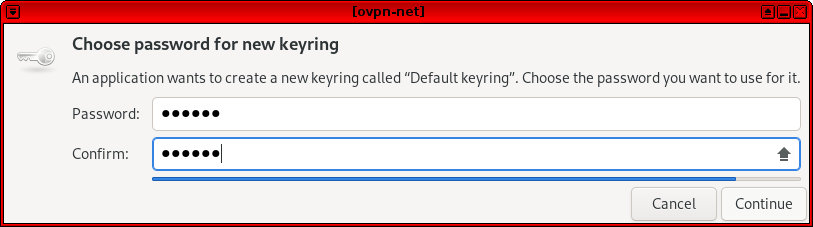
8. Choose password for keyring or leave blank

9. Connect to OVPN: Notification Area → Ethernet Network → VPN Connections → OVPN_CONFIG(fi.helsinki.ovpn.com)

13

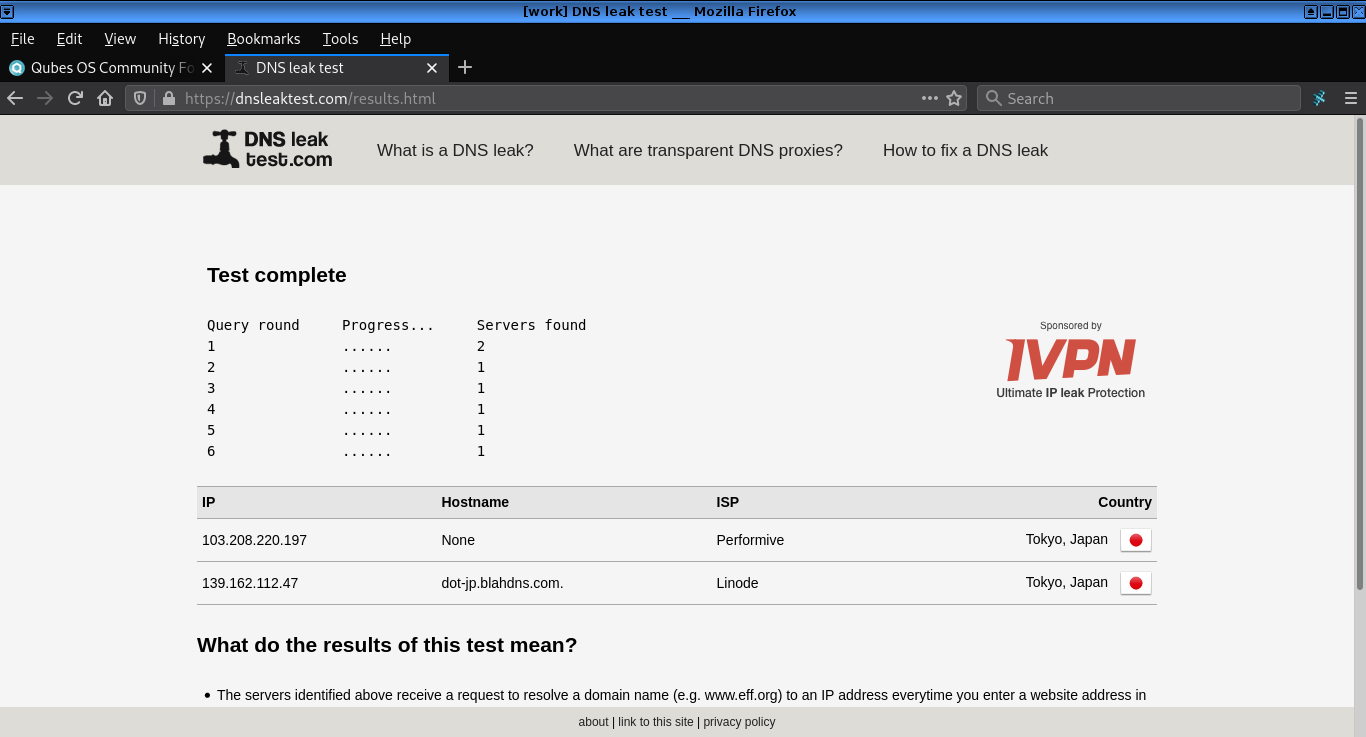
10. Check the connection using the OVPN SITE trough the top menu.

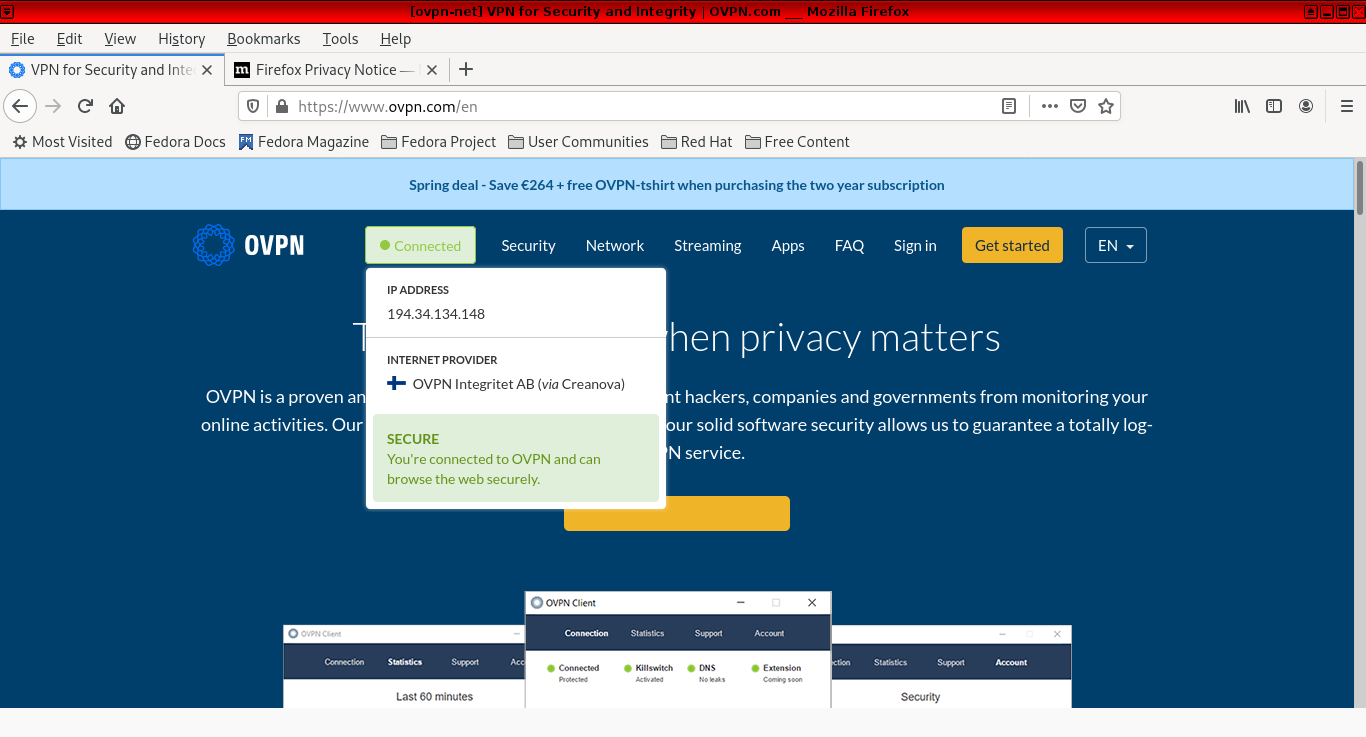
If you have done everything right then you’re browsing trough OVPN.

If your vpn connection goes down while you’re browsing you can prevent dns-leak:

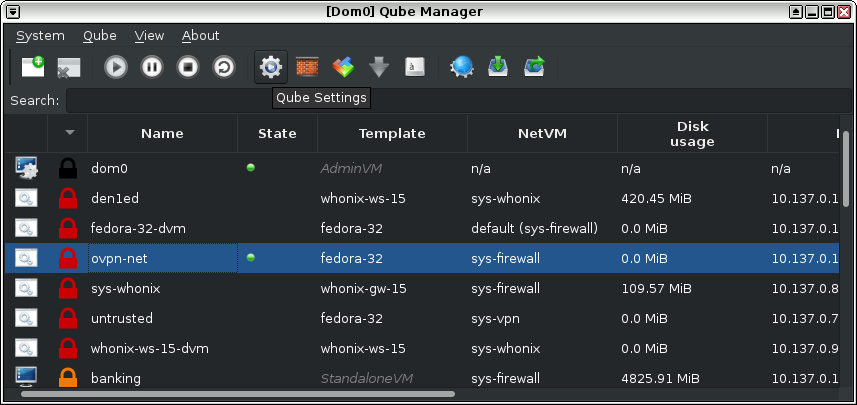
1. Open the Qube-Manager, select the created-qubes-appvm and open the qubes settings

2. Go to the “Firewall rules” TAB and select the “Limit outgoing internet connections to…” option

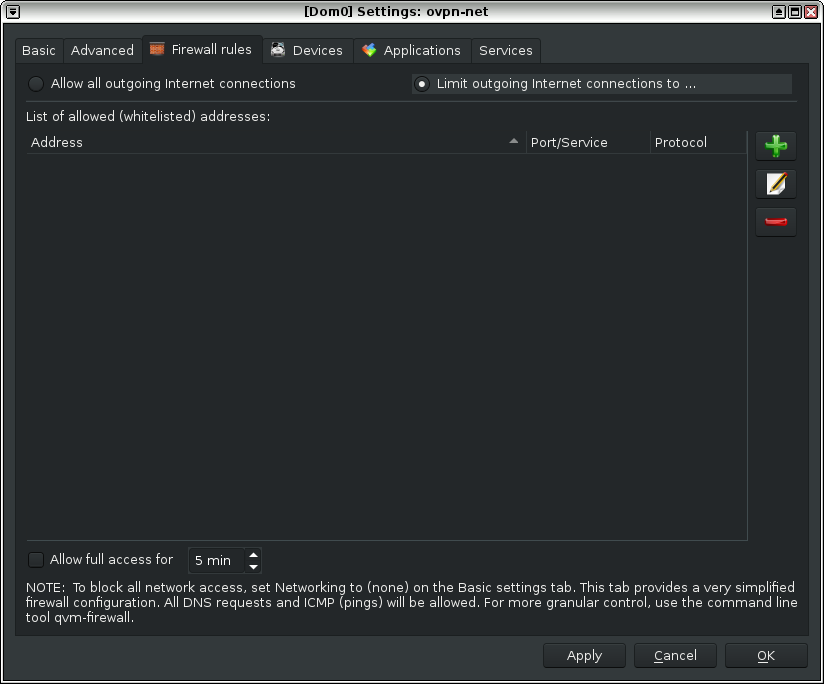
3. Click “+” then type the remote address
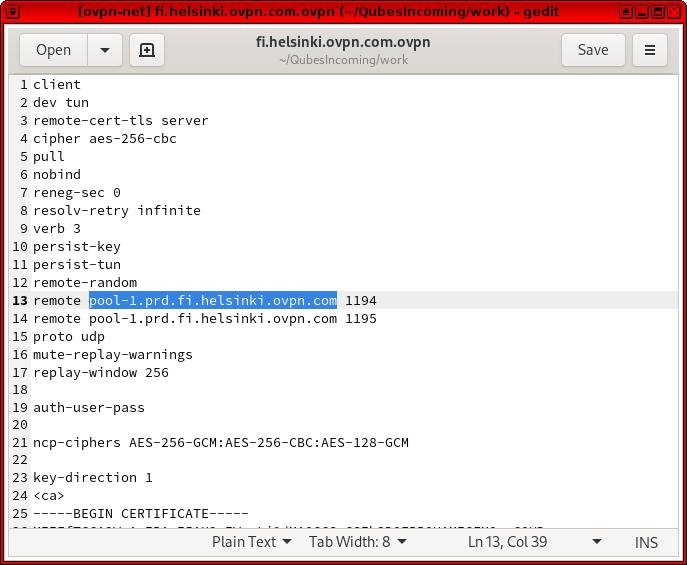
3.1 To find the correct addresss open the downloaded ovpn-config-file with text-editor

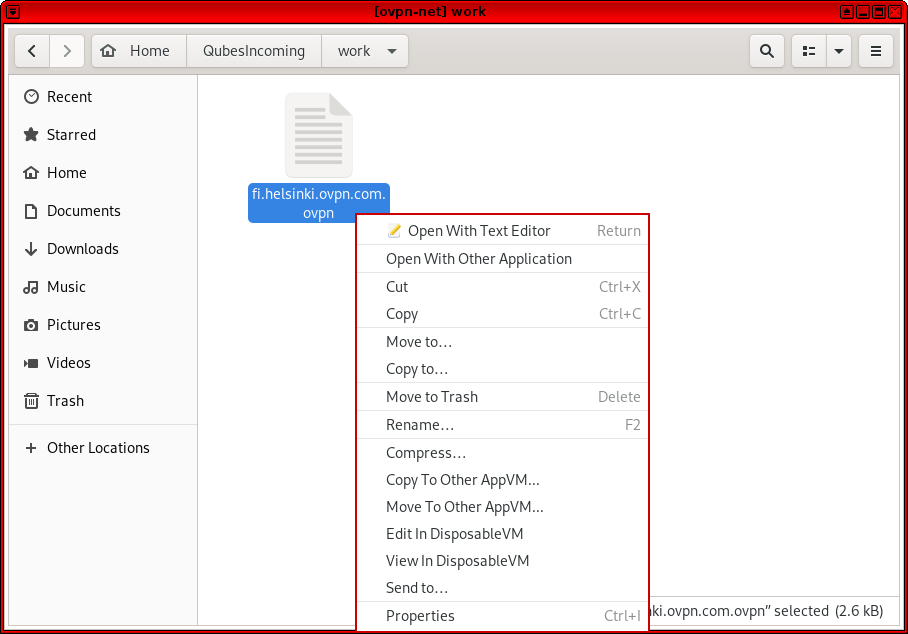
3.2 Locate the “remote” line address and copy it.

3.3 Go back to “Firewall rules” TAB, click “+” to fill in the fields with the copied address:

Address: pool-1.prd.fi.helsinki.ovpn.com(the one used in this guide is the finland ovpn-config-file)
Port/Service: Leave blank
Protocol: Any

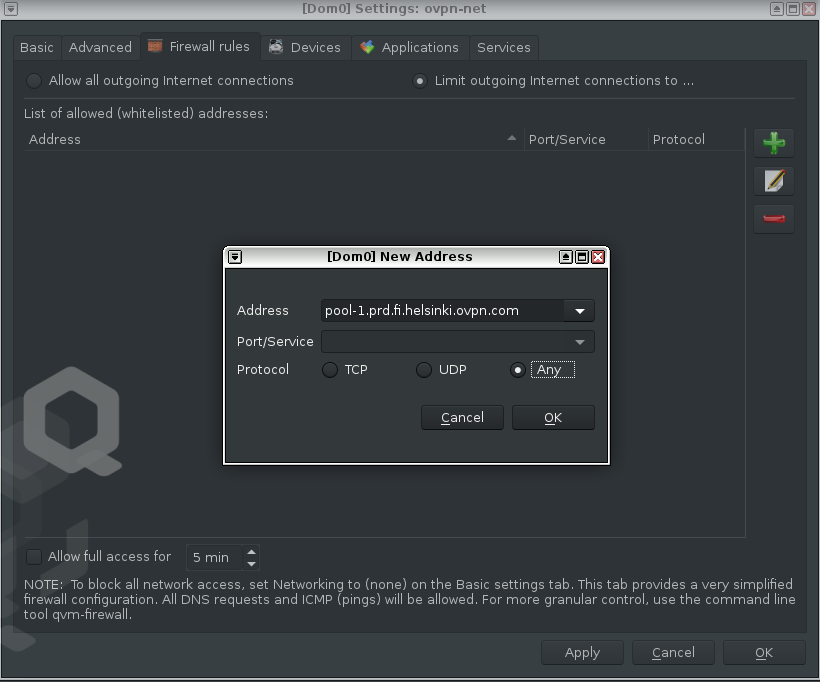
4. Click “Apply” then “OK” and enjoy it.

2 Likes

This may actually be the easiest way to configure a VPN on Qubes. Do you know how this contrasts to installer scripts like the ones listed bellow?

Namely about potential leaks. For example, what is the result of dnsleaktest.com.

And what happens if the VPN fail in this case. Does it allow for traffic to flow through or does it have a kill switch?

I agree that this may be the easiest method to set up a VPN as I also believe that many inexperienced users would like to use Qubes OS if there were more tutorials explaining how to get things done in an easier way. I decided to create this step-by-step in a direct and objective way in order to help new users and beginners who want to migrate from another OS but often give up because they feel very difficult on issues like this for example.

If your vpn connection goes down you can prevent dns-leak by limiting outgoing internet connections from the AppVM(VPN) using Firewall rules as explained in the guide.

You need to change the “Networking” configuration of the AppVM you’ll use to browser on the internet, change “sys-firewall” to "AppVM(VPN).

AppVM (work) → AppVM (VPN) → sys-firewall → sys-net

1 Like

Even more, it’s in contrib repository with some updated how-to: GitHub - QubesOS-contrib/qubes-tunnel: Integration of vpn tunnels for Qubes OS.

1 Like

Thanks for the pointer @fepitre I was not aware it was already available for users. The only caveat with that is that as opposed to this guide, it requites some terminal commands (which are a bit beyond just copy and pasting). But it way easier than the Qubes-VPN-support. So I’m grateful for that contribution!

I think I’ll be recommending this one to users not comfortable with the terminal and the one you pointed to for users with some terminal experience.

1 Like

@den1ed I would encourage you to post this guide on the community docs (which are linked to from the official docs). If you’ve never contributed to there, you can read instructions here.

The file bellow is where it would probably fit and I think it could all be replaced (except perhaps the initial whonix disclaimer) as this is way easier to implement:

I would suggest then also adding an advanced section pointing to Qubes Tunnel’s instructions. But this second part is something I can contribute later (if nobody does it first).

This is a great guide, thanks. I have a related question though. I created a fedora-33-minimal template, and applied the same steps to establish a VPN gateway to use it with other VMs. I have installed additional packages as instructed here:

The following list provides an overview of which packages are needed for which purpose. As usual, the required packages are to be installed in the running template with the following command (replace packages with a space-delimited list of packages to be installed)

But the “save” button isn’t active on VPN configuration screen. Is there any package I am missing to install?

Thanks,

Finch

1. Install fedora-32-minimal template from dom0 terminal:

sudo qubes-dom0-update qubes-template-fedora-32-minimal

1.1 Clone the installed fedora-32-minimal to f32-min-net from dom0 terminal:

qvm-clone fedora-32-minimal f32-min-net

2. From dom0 terminal you’ll need to open a root terminal in f32-min-net to use and execute root commands without sudo

qvm-run -u root f32-min-net xterm

3

2.1 When f32-min-net terminal loads it is time to install the packages:

dnf install qubes-core-agent-networking iproute qubes-core-agent-dom0-updates qubes-core-agent-network-manager NetworkManager-wifi network-manager-applet wireless-tools notification-daemon gnome-keyring polkit @hardware-support iptables dbus-x11 dejavu-sans-fonts tinyproxy notification-daemon

5

2.2 Now you need to install OpenVPN support:

dnf -y install NetworkManager-openvpn NetworkManager-openvpn-gnome

3. Open sys-net settings and change the template from fedora-32 to f32-min-net

3.1 Open sys-firewall settings and change the template from fedora-32 to f32-min-net

3.2 Open sys-vpn settings and change the template from fedora-32 to f32-min-net

4. Restart sys-net and sys-firewall

5. After restarting sys-net and sys-firewall connect to the internet

6. Start sys-vpn

7. Try to connect to your vpn server

8. If you have done everything right, a keyring window will popup, choose your password

9. Now you’re connected using fedora32-minimal-template on sys-net/firewall/vpn

1 Like

@haroldfinch did you installed the NetWorkManager-openvpn packages, take a look on the guide part (2.2) if it doesnt work try to make everything from 0.

This is similar to the Network Manager section of the existing VPN doc, except its more explicit with a lot more images for guidance.

Where it differs is in relying on the VPN provider using a static IP address (many do not), and the user copying that address into the Qubes firewall UI. This is a recipe for user error and/or failed protection. The existing doc prevents leaks by blocking at the interface level and requires no hand-entered IP addresses… it is automatic.

It should be noted that modern VPN configurations protect against MITM attacks by using a certificate / public key system to verify the authenticity of the server. This is by far better than relying on a firewall rule based on an IP address that attackers can easily spoof.

Additionally, a scripted solution is often better since Network Manager has a very long history of mis-handling the import of Openvpn configs. Some details may get lost in the translation since NM VPN settings do not match Openvpn 1:1. That usually results in a non-working connection, but it also suggests that NM could create working connections that are missing important security parameters from the original ovpn/conf. If you read the original issue and discussions for the VPN doc, there was a strong tendency (from Qubes devs, IIRC) to avoid Network Manager details (guess why). There was also a requirement to keep mention of Openvpn incidental so the doc isn’t specific to one protocol; I don’t think screenshots of the NM Openvpn plugin meet that requirement. The existing script can be switched to another protocol by changing a variable.

Some VPN providers have started to supply NM connection configs directly because of the import bugs, but they are still in the minority. The scripted solutions use the VPN provider’s original Openvpn config, modifying only parameters that affect re-connection delays.

Finally, see my comments in VPN page requires rework · Issue #103 · Qubes-Community/Contents · GitHub.

IMO, Network Manager is either supported by a VPN provider, or it isn’t. If it isn’t, they will supply ovpn configs or a special connection manager. If NM is supported, they will usually supply an NM connection file and/or specific NM instructions; rarely, some may even say “here’s how to setup NM and import our ovpn config”. Why do the special GUI clients exist to the point of being ubiquitous? Because NM (and other GUIs on iOS, Android, etc) don’t capture all the necessary details. That is why its best to say “see your distro + VPN provider’s documentation for details in setting up Network Manager”. Its not like copying the ovpn and telling Openvpn to use it.

So Network Manager, though it may have improved somewhat, is not the GUI solution to the problem. If there were a general GUI solution, it would be one that replicates the “copy the ovpn and have openvpn run it”.

I like these guides… Credits to this dude.

What would be the best way to shut down a VPN temporarily and have a clear net in this example? Then re-connect… Just shut off the vpn protection completely temporarily? How would you do it in the easiest way just curious…

I think the easiest way would be to just change the net qube fron VPN sys qube to clearnet sys qube.

Thanks. But sys-net have none as default… Or did i misunderstand your text? Do the traffic go out through sys-net or sys-firewall? They should have some hardenedBSD template for that btw… Might exist.

Anyways… Did you mean change sys-net from none to sys-net? Then back to none?

Or did you mean change the VPN cube from sys-firewall to sys-net and then back to sys-firewall? Be more specific please. The Qubes connections is like a maze if you don’t get networking too much. Nicely set up though! :slight_smile:

Assuming you have this setup for your personal qube:
sys-net - sys-firewall - sys-vpn - personal
Where sys-vpn is AppVM where you’ve configured your VPN.
With this setup personal qubeis is routed through VPN.
If you want the personal qube to access internet without VPN through clearnet then set it’s net qube from sys-vpn to sys-firewall:
sys-net - sys-firewall - personal

Yeah thanks. But if i want all the qubes and dom0 and everything to go out through one, i would maybe then change sys-vpn from sys-firewall to sys-net thought, right? I have a slightly different setup. I can try that next time… I did not mean one cube, but all of the qubes and dom0. Thanks

That or remove the auto-connect and disconnect the VPN, but that seems to much trouble. I can figure the best solution another time i don’t need that right now. thanks for the answer

You can add second sys-firewall:
sys-net - sys-firewall - sys-vpn - sys-firewall2 - personal
Then you can change the default Dom0 update qube, clock qube and net qube in Qubes Global Settings to sys-firewall2. Then change all your qubes net qube to default value that will be sys-firewall2. And then change the Qubes RPC UpdatesPolicy for templates to sys-firewall2 in dom0.
After this you can change sys-firewall2 net qube between sys-vpn and sys-firewall to route all traffic through VPN or through clearnet.
That’d require for additional qube to be running but it’d be the easiest and universal way.
Otherwise you can disable the VPN in sys-vpn qube to route all traffic through clearnet but the way to do this will depend on how did you configure your VPN.

1 Like

Good solution! Yes thank you. I must try that out sometime. :slight_smile: Thanks.
Also, yeah the VPN just does it’s job an reconnects.

In the firewall setup, there is the following note:


After setting the rule, qvm-firewall shows ‘accept dns’:

Does this mean that this “firewall” doesn’t work? And a dns leak occurs?