Original Russian guide by Гайд на distrobox и как можно запускать любые дистрибутивы в Qubes без боли . English translation by me.
Introduction
Qubes has several problems when it comes to supporting alternative distributions:
- (Primary) Dependence on the Qubes repositories and their updates, which complicates the use of rolling release distributions and generally reduces stability. Qubes developers don’t always manage to update them in time.
- Distributions running as TemplateVMs depend on Qubes and do many things in the background — for example, they execute hooks to display newly installed applications in the application list, and this takes time. Obviously, not every installed application needs to be exported.
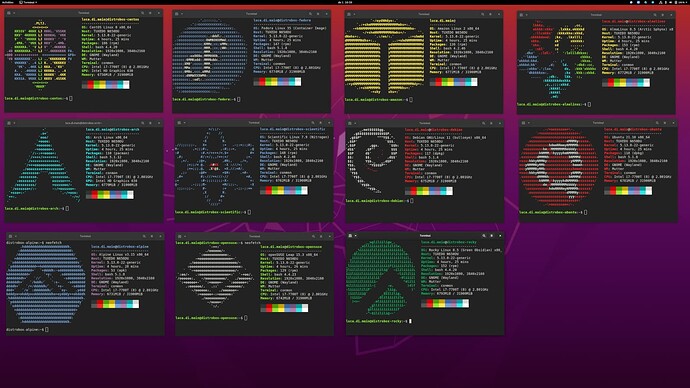
To solve these problems, you can use distrobox (https://distrobox.it/). It’s a lightweight container environment that runs on top of podman or docker, allowing you to run other Linux distributions. The host system is already mounted into the container and configured for launching any applications. Distrobox supports the full functionality of a regular Linux distribution (systemd, dbus, etc.), enabling seamless application launching.
How does distrobox solve these problems:
- Since it runs inside a container, it doesn’t depend on the VM system at all. You can use any distribution as a base, but we’ll use
debian-13. - It doesn’t trigger Qubes hooks when performing package update operations, and generally tries not to touch things that Qubes developers added to Guest VMs.
Installation
I’ll demonstrate the process using kali, which is a rolling release and currently difficult to use as a TemplateVM in Qubes — it’s not available in the repositories.
Creating a VM
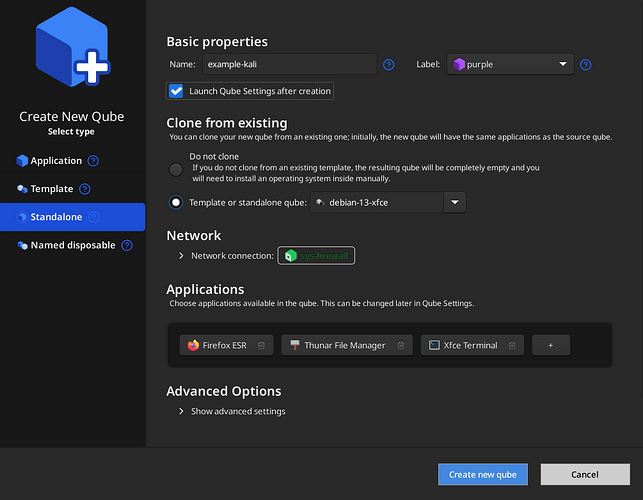
Set the configuration as shown in the screenshot below and click Create new qube:
After that, a settings window will appear where you can configure the memory to your preference. I’ll use these settings:
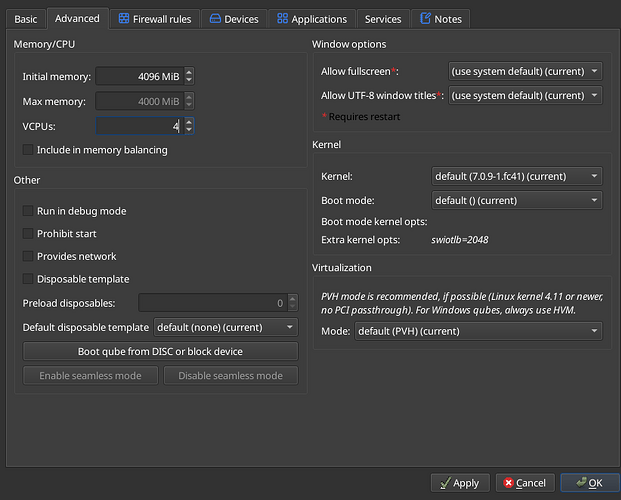
Click OK.
Configuration
Installing Dependencies
Open a terminal and run:
sudo apt install distrobox -y
Installing kali
You can find other distributions here: https://github.com/toolbx-images/images, or via the GUI app: https://flathub.org/en/apps/com.ranfdev.DistroShelf
The installation will take some time:
distrobox create --root --image docker.io/kalilinux/kali-rolling:latest --name kali --init --hostname kali
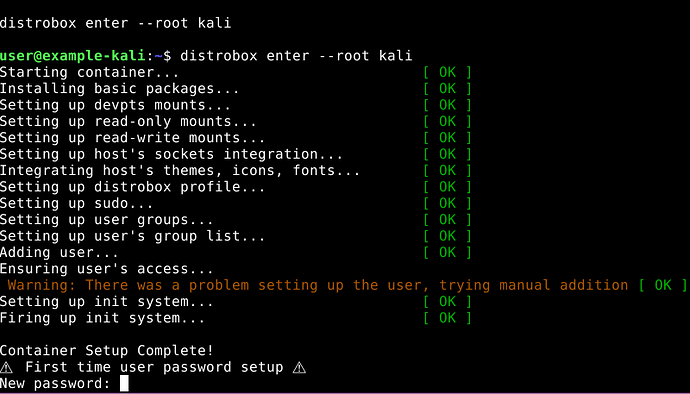
distrobox enter --root kali
During installation, distrobox failed to automatically configure the user, so we’ll do it manually. In the prompt that appears, enter a password (we’ll get rid of it later):
After entering the new password, we end up inside the container. Exit it immediately using the exit command:
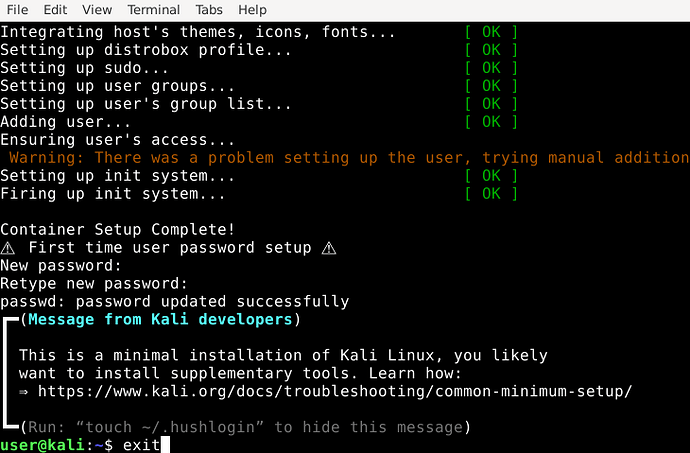
At this point, the user is not in the sudo group and therefore cannot execute commands as an administrator. To fix this password issue, we need to go through a few steps.
This command lets us enter the container as the root user:
sudo podman exec -it kali /bin/bash
As root, execute:
apt install -y nano     # kali repositories are blocked in Russia
nano /etc/sudoers
Scroll to the end of the file and, under the line root ALL=(ALL:ALL) ALL, add:
user ALL=(ALL) NOPASSWD: ALL
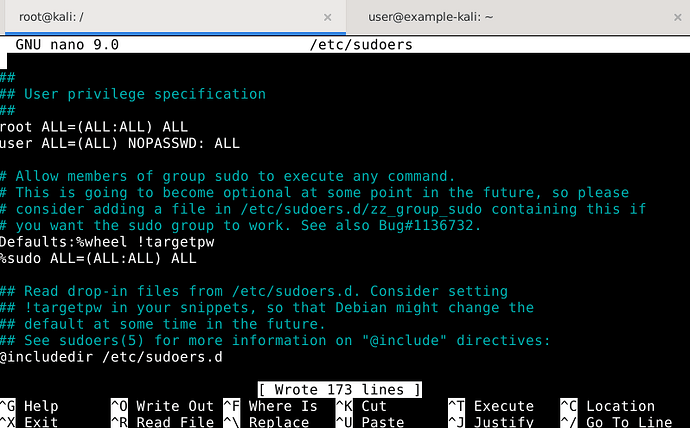
Press Ctrl+S, Ctrl+X to save the changes, then exit the environment with exit.
Verify everything works with:
distrobox enter --root kali
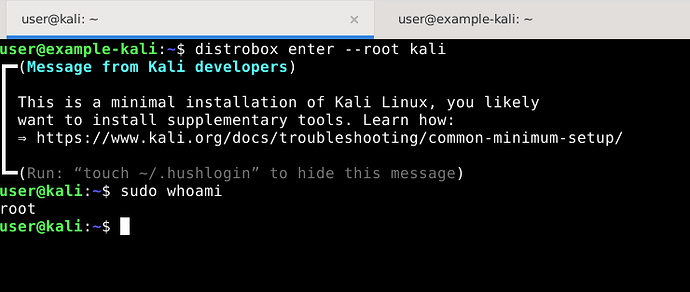
This is already enough for minimal container usage, but we’ll also configure the terminal for a better user experience.
Additional Configuration for Convenience
Install a terminal inside the container and exit:
sudo apt install xfce4-terminal -y
exit   # exit the container environment
In the VM environment, run:
distrobox generate-entry --root kali   # create .desktop file
nano .local/share/applications/kali.desktop   # configure it
Write:
Exec=/usr/bin/distrobox enter --root kali -- xfce4-terminal
Terminal=false
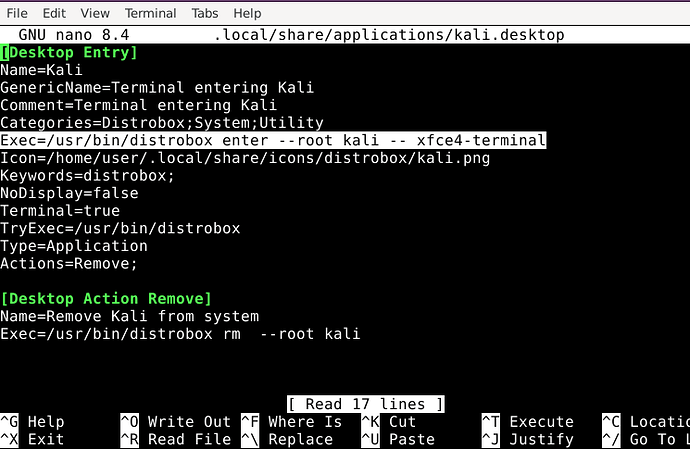
Open the VM settings and click Refresh applications:
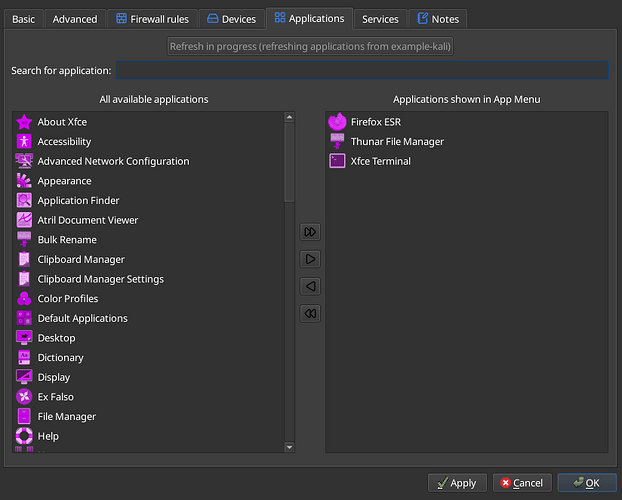
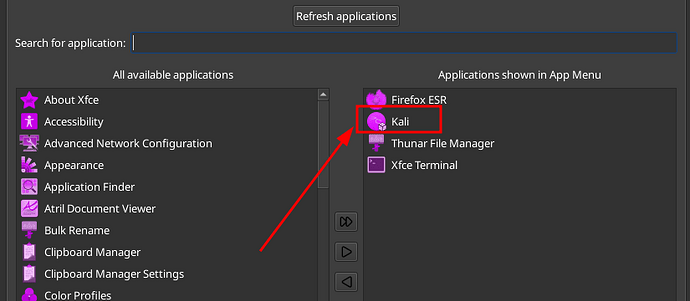
Then add Kali to the application list:
Now launch Kali and the container terminal opens:
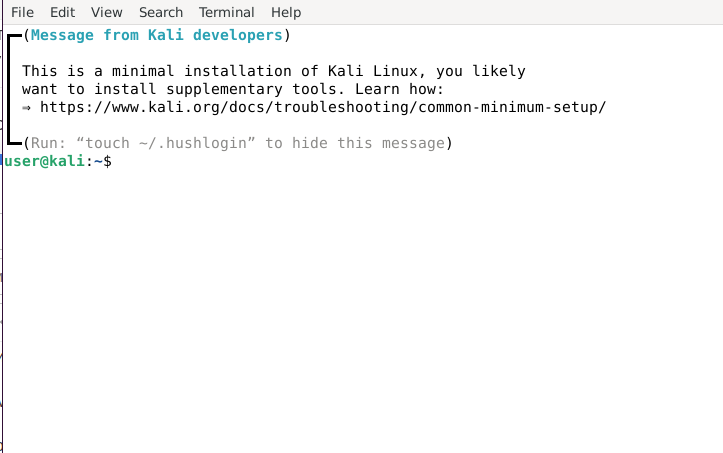
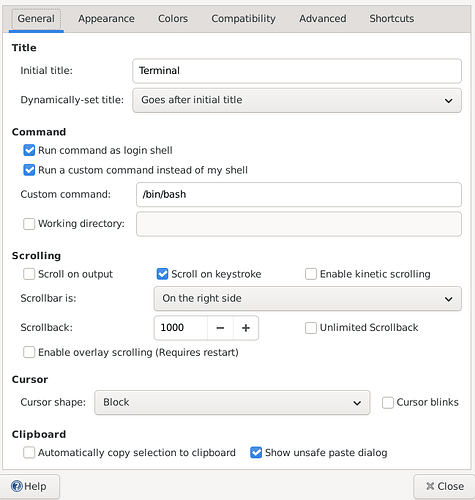
It’s also worth configuring it to run /bin/bash instead of /bin/sh. This can be done in the xfce4-terminal settings:
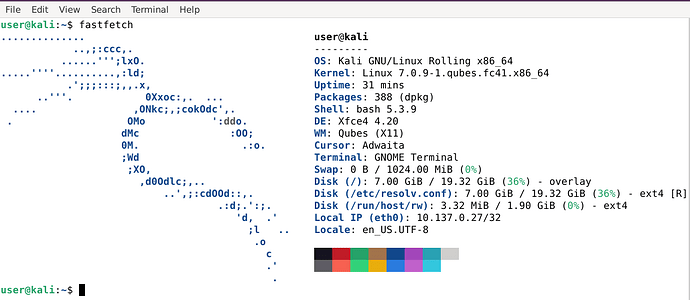
Result:
Conclusion
This approach simplifies using distributions in Qubes that are not officially supported. NixOS users use an identical method to run programs that aren’t in the repositories and depend on LFS.
Join the Telegram channel: https://t.me/qubesru