It works on my Qubes! I also reset dom0 to the default dom0_mem=max:4096 and ran script. 16 GB memory of my device became 11 GB for dom0. I didn’t modify anything in dracut modules - script itself replaced the old data with the new ones ![]()
2 Likes
@newqube thanks for test. I hope other users’ memory will be set correctly now.
By the way, watch the size of dom0 - if you only have a 16 GB of total RAM, updating kernels or installing too many appVMs-live environment can significantly increase dom0’s footprint, exceeding the memory allocated for live mode. I will add a note about it to the guide. But this is more than enough to run a DVM and a Whonix‑DVM for crypto transactions, secret chats, and transferring confidential files. DVMs are lightweight VMs.
1 Like
Yes. I have ~ 11 GB in overlay and only ~ 3 GB free in zram. However, the overlay fills up quickly when an appVMs is launched. Zram simply copies the size of dom0 onto the specified ram-disk, so it may seem small, but it’s enough to run several dvm-qubes. I think users with 16 GB of memory could change 70% to 80% for live operation.
@newqube Hmm, okay, I will raise the percentage to 80% of total RAM. For devices with more than 20 GB of RAM it won’t cause problems (even at 90%). But with 16 GB of RAM you need to be careful, and it’s important that dom0 has enough memory to operate. Based on my study of the Xen docs, the memory allocation can be increased up to 80%. This memory isn’t reserved solely for dom0 - any unused portion will be distributed among the other qubes. However, in live mode it’s crucial that dom0 doesn’t run out of memory / disk space. Otherwise the system will freeze.
So, it seems that 80% is a reasonable figure. Let me know if using Zram at 80% leads to a memory shortage. Also, don’t start many qubes at once ![]() I think no more than two DVMs or two appVMs simultaneously from varlibqubes pool.
I think no more than two DVMs or two appVMs simultaneously from varlibqubes pool.
I find it hard to understand how Qubes works in live modes with 16 GB of total RAM. I have plenty of memory (64 GB) and everything runs fine. For testing, I ran 20 qubes simultaneously in overlay mode and 35 qubes in zram mode from varlibqubes pool, and dom0’s memory didn’t fill up beyond 95%.
2 Likes
Thanks for your work.
I can confirm that after running the script it did worked successfully on my already manual install.
Before running the script, Zram wouldn’t work on my manual install but after running the script it works. I want to point that I did modified the grub parameter for ram but I wouldn’t launch before running the script again.
Also you may want to modify the second post step order. At least for me you have to make the live.sh executable inside dom0.
So I ran sudo chmod +x live.sh inside dom0 and after sudo ./live.sh
Following your exchange and the amount of ram I have I may increase my ram to 80 or 90% let’s see.
2 Likes
@AxAxA Thank you for your test. You can increase the dom0 max memory to 100% if your device has more than 24 GB of RAM. My tests at 100% were successful (I ran 15-30 qubes simultaneously). But, if device has only 16 GB of RAM, my tests showed that 70–80% is optimal (at 100% dom0 would lag).
1 Like
The guide has been updated!
A Ram‑Wipe module has been added to wipe memory after the system shutdown!
This tool is used by Tails and Kicksecure / Whonix after shutdown for protection against forensics after cold‑boot attack.
You will see new entries after shutdown Qubes:
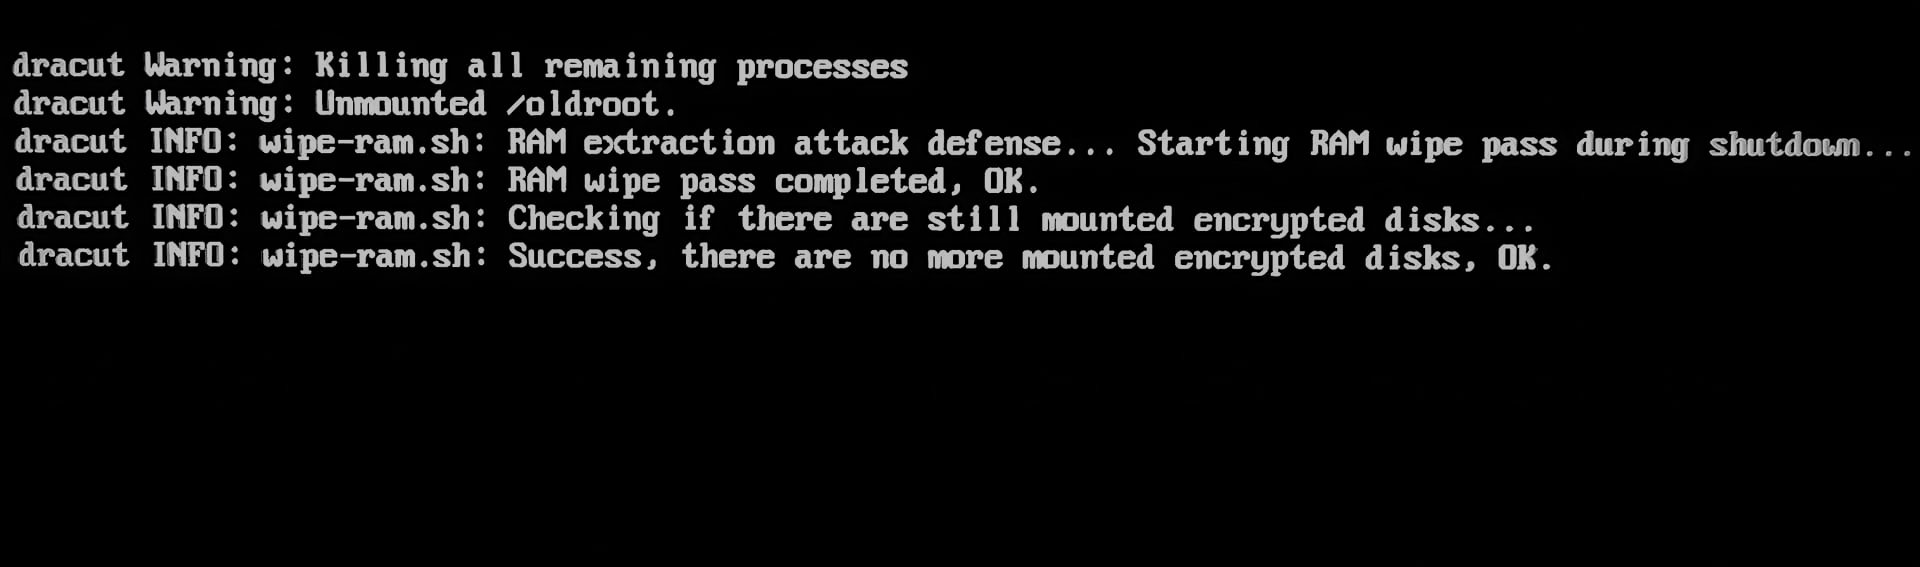
We’ve now replicated Tails as closely as possible: read‑only root, hardened dom0-overlay, ram wipe ![]()
I revised the guide - now it only includes the launch script, since manual installation was too complicated and could lead to accidental errors due to inattentiveness.
4 Likes
The script is working successfully for me now in all modes!
You’ve truly done a great job with this, bringing improvements and innovations to the original thread’s implementation. Keep up the great work! Bravo. ![]()
I wonder how far this can ultimately be pushed with additional useful approaches & capabilities. There is probably a number of neat scenarios that could be thought of involving the advanced customization of how Qubes Live Dom0 is initiated & loaded, maybe involving ideas like: alternative encryption, headless encryption, plausible deniability, authentication tokens, HEADS/coreboot integration, etc, or something else.
Great job!
3 Likes
When I first tried to implement this XFCE widget, I failed to find the “System Monitor” widget type, and only found “System Load Monitor” (incorrect), as I was looking for something that started with the word “System”.
Later, when trying again, I found “Generic Monitor” (correct) and successfully added it with the findmnt -n -o SOURCE / command. “Generic Monitor” is the exact right name of the XFCE widget type, for anyone else looking.
How To:
Right Click XFCE Taskbar > Panel > Panel Preferences > Items > Add > Generic Monitor > Add > Close > Edit Selected Item > Command: findmnt -n -o SOURCE / > Save > Position Up/Down
1 Like
After seeing the bootscrub=1 and init_on_free=1 kernel parameters…
Would it be useful to optionally add init_on_alloc=1 as well?
In reading on the web, the two init_on_ parameters appear to be used together often.
Yes, I already had the widget installed and I wrote it from my memory (my memory let me down ![]() )
)
This job is already performed by the Xen hypervisor. These parameters are used together in Kicksecure or Tails because they are monolithic systems and require additional options for memory allocation (including for VM). In Qubes this is already provided, so adding them would only increase CPU load. I also examined all hardened kernel parameters in Tails and found nothing useful for Qubes Live either. All paranoid hardening parameters is already included in the overlay mount (I tested many extra security parameters and kept only those that don’t break system boot).
You can add this parameter scrub-domheap=1 if you are using a Windows qube (Qubes dev wrote on GitHub that this option is useful only when using non‑Linux VMs, otherwise, it’s just useless and consumes system resources).
3 Likes
Thanks for doing all this. Great to know this!
Since this is an important and better anit-forensic Tails-like alternative, it might be of broader interest than just its users. And since this is a low security forum platform where several others have access or could gain access to tamper with your posts…
How about publishing a hash along with your scripts (like SHA512SUM)?
A GPG signature would be ideal, but at least a hash would be something very quick & painless.
Maybe an open source GIT repository would be worthwhile in the future too?
Thanks for all your valuable work here.
1 Like
Hello. Just started using Qubes. The fact that disposables still write things to memory is a huge problem for me. I have few questions about your solution:
- How can I trust it? Is it approved by the developers or have they even talked about it?
- It removes the problem of disposables writing on the disk, right?
- I cannot write/save anything on the disk while I use it, right?
- Is it compatible with R4.3?
- Do you recommend it for high-risk threat model?
@domdom0 I will think about the repository later. I want to test a few more experiments.
By the way, I don’t mind if any user creates a repository with this script under their own name on GitHub, GitLab, or Codeberg. I’m not looking for authorship or fame; I will be happy for the script to be shared ![]()
@vaporwave-og Hello!
You can look at the code and see that this script works with well‑known Dracut modules for memory protection and with known kernel parameters for system hardening. It’s a very simple script that is isolated from the default system boot - it was important for me to create an “isolated laboratory” where nothing can be broken. Qubes devs don’t comment on community guides, they have a lot of work. Guides are written by advanced users for other users.
This solves the problem of writing to disk from any VM: dvm, appVM, and Standalone VM. You operate in an isolated overlay that lives in RAM. You can only persist changes to disk in an AppVM that create in the vm‑pool - similar to persistent storage in Tails. The vm‑pool creates a separate partition on the disk, so it isn’t suitable for amnesiac mode.
As a result:
dom0 never writes data to disk.
VMs from the varlibqubes pool do not write data to disk (run inside dom0).
VMs from the vm‑pool do write data to disk.
Thus, you can run in amnesiac mode but still store important data in a vault from the vm‑pool and use ZuluCrypt, VeraCrypt, or Cryptomator.
Templates don’t need to be added to the varlibqubes pool. It allows you to update templates in live mode. However, if you want to experiment with templates, clone the template and select the varlibqubes pool in the advanced settings. It will discard all changes. It’s recommended to do it before installing new packages into templates.
This script is compatible with any version of Qubes and should work on any filesystem.
It was created for paranoid security - it fully reproduces Tails’ forensic resistance and hardens the system heavily (read‑only root, ultra hardened overlay). In effect, it turns dom0 into something like Secureblue‑Tails and even cooler.
At the same time, it’s useful for experiments: if you decide to install a script from a forum into dom0, do it in live mode and reboot Qubes if anything breaks. I’ve broken live‑mode boots and dom0 many times during testing, and it never affects Qubes default boot process. So this is a protected bunker and laboratory for any kind of experiment. The main thing - watch the memory usage, otherwise dom0 or the AppVM could freeze.
1 Like
The hardening of the dom0 kernel has been strengthened in live modes! Parameters from Secureblue have been added.
I studied Secureblue’s hardening and extracted only the truly useful kernel parameters for dom0 and Qubes (hardening for networking and container workloads isn’t relevant to dom0). Those parameters are now included by default in the live modes (It don’t consume system resources and don’t affect on regular operation in Qubes):
kernel.sysrq=0 Disables SysRq, preventing forced reboots, memory dumps, or password extraction by attackers with physical access, which hinders forensics.
kernel.perf_event_paranoid=3 Blocks unprivileged user access to perf_events, minimizing the attack surface for reconnaissance and exploits, such as side-channel attacks.
kernel.kptr_restrict=2 Hides kernel pointers from /proc and dmesg, complicating exploit development via KASLR bypass and memory analysis by forensic analysts.
kernel.panic=5 Automatically reboots the system 5 seconds after a kernel panic, limiting the time available for memory dumps or forensics during a crash.
fs.protected_regular=2 and fs.protected_fifos=2 Prevent privileged processes from opening/deleting files/FIFOs owned by other users, preventing symlink/toctou attacks and privilege escalation.
kernel.printk=3333 Restricts console logging (levels < 3), reducing real-time sensitive data leaks and DoS from log flooding.
kernel.kexec_load_disabled=1 Disables kexec_load, blocking the loading of an unauthorized kernel by root to bypass protections or achieve persistence.
kernel.io_uring_disabled=2 Completely disables io_uring for all processes, eliminating vulnerabilities used for stealthy rootkits and EDR evasion.
lockdown=confidentiality Activates strict lockdown mode: forbids kernel modification by root, memory leaks, and unauthorized access to the kernel image, strengthening anti-tampering and confidentiality.
module.sig_enforce=1 Allows loading only signed kernel modules, preventing rootkits via unsigned kernel modules even from root.
As a result, we now have an ultra‑hardened dom0 that is considerably safer than Secureblue – isolation, root is read‑only, dom0 kernel and overlay mount are ultra‑hardened, RAM‑wipe everywhere (xen + dracut).
You can also add these parameters to the default Qubes boot
4 Likes
The guide has been updated! Now the script will automatically create amnesic live DVMs!
I noticed many beginners on the forum and improved the script for them. Now script automatically creates two new purple DVMs in the varlibqubes pool:
- amnesic‑live‑dvm
- amnesic‑live‑whonix‑dvm
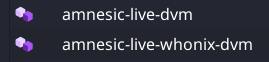
These are basic VMs for protection against forensics.
It’s very important to create live-vm in the varlibqubes pool for protection against forensics, and now beginners won’t make mistakes. ![]()
The script includes a condition: it will not create new live DVMs if does not find default‑dvm and whonix‑workstation‑18‑dvm, or if the amnesic live DVMs have already been created (for example, if you run the script again to update kernels in live mode).
You will see it in the terminal after the script runs:
$ sudo ./live.sh
=== Qubes Dom0 Live Boot Setup ===
...
...
Creating amnesic DVMs...
======================================
Creating amnesic live DVM...
✓ Creating amnesic-live-dvm from default-dvm...
amnesic-live-dvm: Cloning private volume
✓ amnesic-live-dvm created successfully (purple color)

Creating amnesic live Whonix DVM...
✓ Creating amnesic-live-whonix-dvm from whonix-workstation-18-dvm...
amnesic-live-whonix-dvm: Cloning private volume
✓ amnesic-live-whonix-dvm created successfully (purple color)

Done!
ALL STEPS COMPLETED SUCCESSFULLY!
If your device has only 16 GB of RAM or if two live-VMs are enough for you for very private activity, the script will handle all the work of launching live-VMs for you! You just need to reboot and work in anti‑forensic live mode! ![]()
So now the script will automatically:
- Determine the appropriate RAM‑disk size for live dom0,
- Create all dracut modules and a custom GRUB configuration,
- Harden live dom0,
- Create two live DVMs that leave no data on the disk.
5 Likes
Update! Protection against dom0-timezone leak has been added in amnesic‑live‑dvm (whonix-dvm already has this option). This is relevant for a privacy‑focused qube. Timezone is a serious system fingerprint. Many users are unaware of this leak in default Qubes.
I used this method to set the UTC timezone:
qvm-run -u root amnesic-live-dvm 'bash -c "echo -e \"\\ntimedatectl set-timezone Etc/UTC\" >> /rw/config/rc.local"'
qvm-shutdown amnesic-live-dvm
This command qvm-features VMNAME anon-timezone 1 sometimes doesn’t work for debian-13-xfce - I’ve tested it many times and can’t figure out why ![]() . My method guarantees the installation of the UTC timezone in amnesic-live-dvm. My method also works for Qubes 4.2 (anon-timezone works only for Qubes 4.3).
. My method guarantees the installation of the UTC timezone in amnesic-live-dvm. My method also works for Qubes 4.2 (anon-timezone works only for Qubes 4.3).
3 Likes
Greatest contribution to this forum from very long time.
thank for the work!
4 Likes