Hello, Its ’ a good news that you succeed ! so I hope I will also !
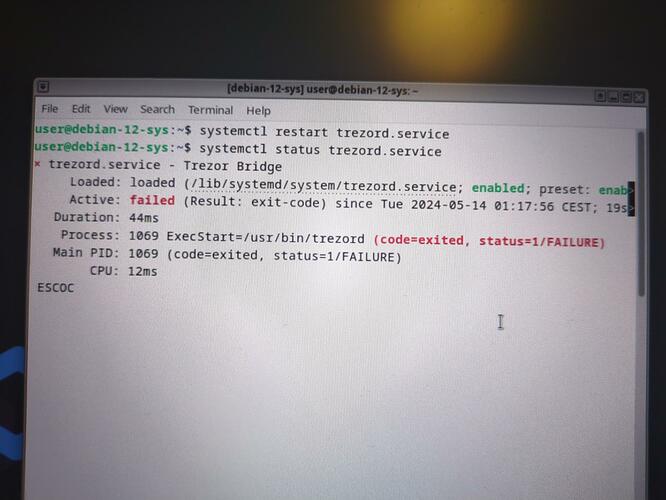
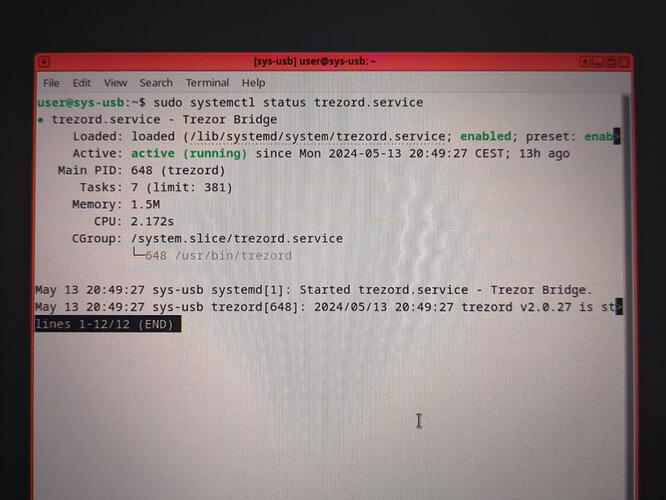
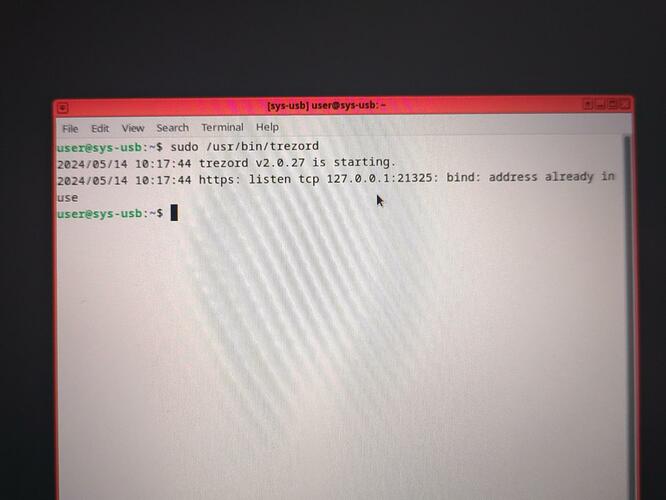
I just follow your advice and change “user=root” but still not working. I dont know why !
maybe someone @LittleBlackRock, @Ursidae @apparatus or @dak can review all I did and let me know if something seems wrong ?
STEP 1
if I well understand it seems Whoonix template is not working so:
I copy a debian-12 template and name it debian-12-Crypto
I aslso created an APPS Crypto with debian-12-crypto as template and sys-whonix as Netvm
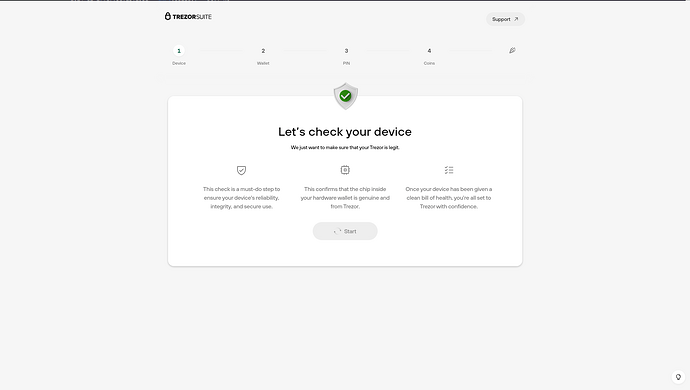
I dowloaded last Trezor appimage: Trezor-Suite-24.4.3-linux-x86_64.AppImage
- Open a terminal window in debian-12-crypto and run the following command to allow the Trezor Suite .AppImage to be executed as a program:
sudo chmod u+x ./Downloads/Trezor-Suite-24.4.3-linux-x86_64.AppImage
STEP 2
- Start a Terminal window in your new Trezor-dedicated AppVM (Crypto in my case) and execute the following code to edit the rc.local file:
sudo nano /rw/config/rc.local
You are now editing the rc.local plain text file through terminal. - Navigate to the bottom of the file using your arrow keys and type the following code (note the & at the end):
socat TCP-LISTEN:21325,fork EXEC:”qrexec-client-vm sys-usb trezord-service” &
Press Ctrl + X to save.
Press Y to confirm.
Press Enter to exit.
Although this portion of code can be executed in any AppVM with networking, I advise it be done in the AppVM you are dedicating to Trezor Suite to avoid unwanted code elsewhere.
Step 3:
-
Open terminal in dom0 and run the following code:
sudo nano /etc/qubes-rpc/policy/trezord-service
This will create a plain text file in dom0 within that directory. You are now editing that file in your terminal window. -
Paste the following code into the file via terminal:
$anyvm $anyvm allow,user=trezord,target=sys-usb -
Press Ctrl + X to save.
Press Y to confirm.
Press Enter to exit.
Step 4: Debian Templates
- Clone your current regular debian-12 template Qube and name it debian-12-sys.
- Clone default-dvm and name it default-dvm-sys
- Set the template for the default-dvm-sys. as debian-12-sys.
- Set sys-usb’s template as default-dvm-sys.
Step 5: Trezord Service
In default-dvm-sys.
- Open terminal and execute the following code:
sudo mkdir /usr/local/etc/qubes-rpc
This will create a folder titled qubes-rpc within the specified directory - Create a plain text file within that folder titled trezord-service by executing the following code:
sudo nano /usr/local/etc/qubes-rpc/trezord-service - You are now editing the plain text file within the terminal window. Add the following line of code to the file:
socat - TCP:localhost:21325
Press Ctrl + X to save.
Press Y to confirm then press Enter to exit.
4. Make the new file executable with the following command:
sudo chmod +x /usr/local/etc/qubes-rpc/trezord-service
Step 6: Trezor Bridge
In Debian-12-sys:
- Download the Trezor Bridge .deb file
- Open a terminal window in debian-12-sys and run the following code to allow the deb file to be executable:
sudo chmod u+x ./Downloads/trezor-bridge_2.0.27_amd64.deb - Install the Trezor bridge for debian file with the following code:
sudo apt install ./Downloads/trezor-bridge_2.0.27_amd64.deb
This will automatically install the bridge in the following directories:
/etc/systemd/system/multi-user.target.wants/trezord.service
/usr/lib/systemd/system/trezord.service
Successful installation should result in terminal showing that both directories are communicating with each other.
“created symlink /etc/systemd/system/multi-user.target.wants/trezord.service → /usr/lib/systemd/system/trezord.service.”
Step 7: Udev Rules
Method 1: Manual Build
In debian-12-sys:
- Run the following code in a terminal window to create the 51-trezor.rules file in the Udev rules directory.
sudo nano /etc/udev/rules.d/51-trezor.rules - After running this command you are now editing the plain text file you have just created. Copy and paste the following code into terminal:
Trezor
SUBSYSTEM==“usb”, ATTR{idVendor}==“534c”, ATTR{idProduct}==“0001”, MODE=“0660”, GROUP=“plugdev”, TAG+=“uaccess”, TAG+=“udev-acl”, SYMLINK+=“trezor%n”
KERNEL==“hidraw*”, ATTRS{idVendor}==“534c”, ATTRS{idProduct}==“0001”, MODE=“0660”, GROUP=“plugdev”, TAG+=“uaccess”, TAG+=“udev-acl”
Trezor v2
SUBSYSTEM==“usb”, ATTR{idVendor}==“1209”, ATTR{idProduct}==“53c0”, MODE=“0660”, GROUP=“plugdev”, TAG+=“uaccess”, TAG+=“udev-acl”, SYMLINK+=“trezor%n”
SUBSYSTEM==“usb”, ATTR{idVendor}==“1209”, ATTR{idProduct}==“53c1”, MODE=“0660”, GROUP=“plugdev”, TAG+=“uaccess”, TAG+=“udev-acl”, SYMLINK+=“trezor%n”
KERNEL==“hidraw*”, ATTRS{idVendor}==“1209”, ATTRS{idProduct}==“53c1”, MODE=“0660”, GROUP=“plugdev”, TAG+=“uaccess”, TAG+=“udev-acl”
-
Press control + X to save the file.
Press Y to confirm.
Press Enter to exit. -
Make the Udev rules file executable by running the following code in terminal:
sudo chmod +x /etc/udev/rules.d/51-trezor.rules
Step 8: Install Trezor Dependencies
- In debian-12-Crypto open a terminal window.
- Run the following command to install pip.
sudo apt install pip - Run the following command to install the trezor package:
sudo apt install python3-trezor
AND
- Enable networking permissions for debian-12-sys in the Qubes manager.
- Run the following command to install the trezor-common package:
sudo apt install trezor - Revoke debian-12-sys networking permissions in the Qubes manager.
Change “User=trezord” to “User=root” in the trezord.service file of the debian-12-sys. by
sudo nano /usr/lib/systemd/system/trezord.service


