step 4. part 2. should I clone the default-dvm or fedora38-xfce template?
This guide is for disposable sys-usb (DispVM type) and you seem to have non-disposable sys-usb (AppVM type).
In this case you can follow the guide and do everything designated to be done in fedora-37-sys-dvm in your sys-usb.
My sys-usb type seems to be “DispVM”
In fedora-38-sys-dvm Settings → Advanced tab is “Disposable template” set?
And does it have AppVM type?
yes it’s app vm and it’s disposable type
Where are you checking this?
Should I in the beginning clone the “default-dvm” which has fedora template, or clone the default fedora template named “fedora-38-xfce”? (step 4 part 2)
Example:
Step 4: Fedora Cloning
Clone your current regular fedora-38-xfce template Qube and name it fedora-38-xfce-sys.

Clone the default-dvm Qube and name it default-sys-dvm.

Set the template for the default-sys-dvm as fedora-38-xfce-sys.

Set sys-usb’s template as default-sys-dvm.
1 Like
Ok now everything else is done, but one question remains. How can I change the sys-usb template when it’s active? I have mouse and keyboard attached. If I disable it I can’t edit anything
In dom0 terminal:
qvm-shutdown --wait sys-usb; qvm-prefs sys-usb template default-sys-dvm; qvm-start sys-usb
this worked but now the problem I’m facing is I don’t know how to attach the trezor usb to the whonix app vm. Asked AI but it said I should add the usb controller to the whonix appvm devices list, but that’s not possible since the USB controller device is already in use by sys-usb.
The system detects trezor device when it’s plugged, but how do I make whonix appvm know that it’s plugged in?
1 Like
Maybe you didn’t configure it correctly?
Thank you for an awesome guide!
I had to make an adjustment to make it work. The issue was the following:
- step 8: pip3 install --user trezor results in “error: externally-managed-environment”. Solved by doing “apt install python3-trezor” instead. Did not try venv, as it seems beyond my skill level.
Would also like to mention (nice to know for other newbies) that making the AppVM with a whonix workstation template clone resulted in “trezor bridge not running”. Made a template clone from debian12 instead, and that works fine. Using sys-whonix as network.
Running Qubes 4.2.0 release version (fedora 38) on an Asus UX430U (i7-8550u,16GB).
Don’t know if my adjustment have made any negative impact on the total result.
2 Likes
Hello, I have issue at this final part (last line at step 8)
when I put “pip3 install --user trezor” i have this error message
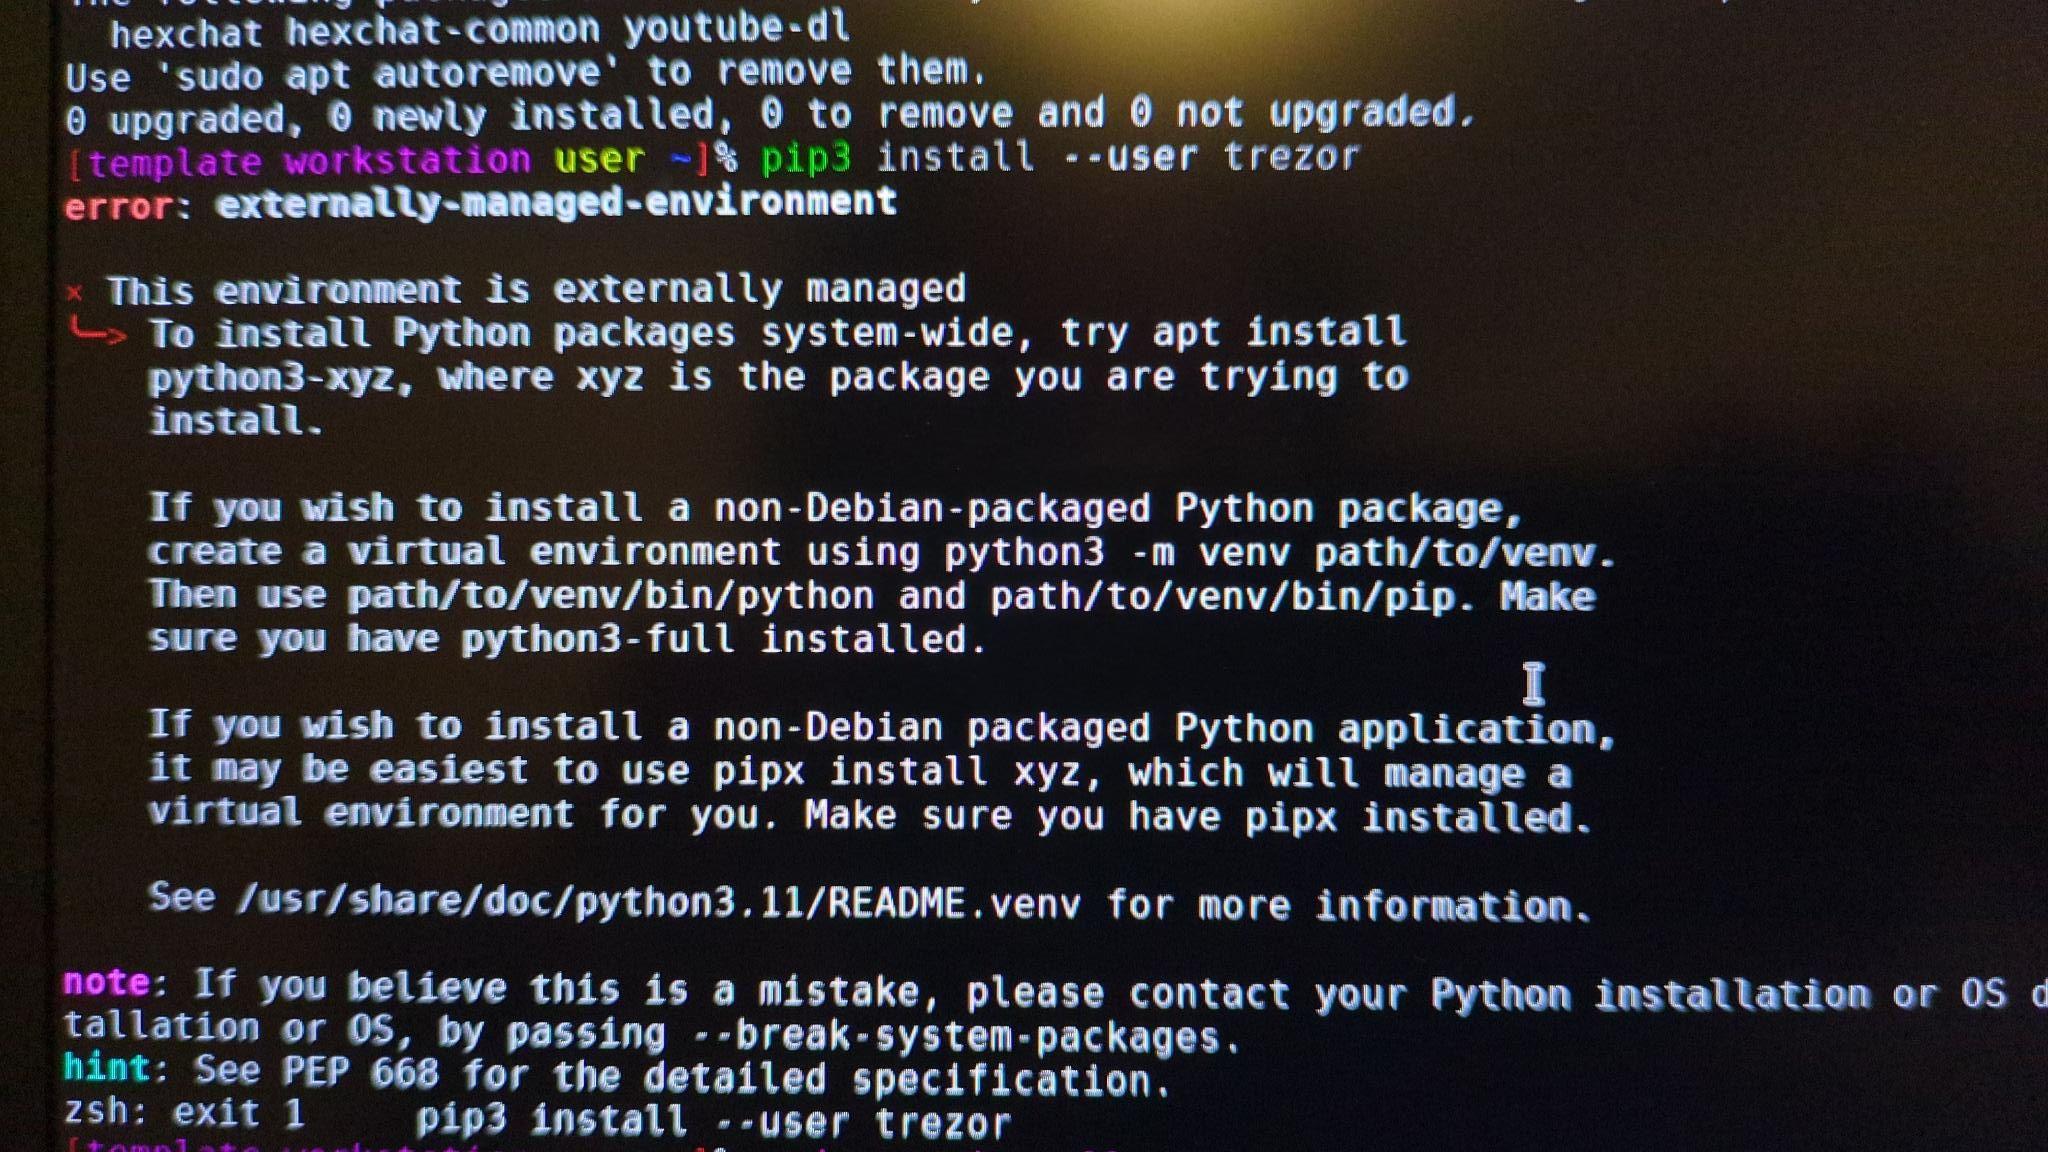
Have you got an idea what i should do ?
Thanks
The previous post contain the answer:
1 Like
Thanks this line is working
Hello,
I try this installation for fews days now and not yet succeed.
I just see your explanation about having Debian 12 instead of Whonix. Good to know! I tried but still not working for me.
I used novacustom NV41 laptop and run QubesOS 4.2.1 with debian 12 ,Fedora 39 and Whonix 17
Could you let me know what you did from the beginning to succeed? Are you still using fedora-39-sys and default-sys-dvm ?
Thanks
Can you describe what problem do you have with this guide?
Yes i will try my best to explain:
STEP 1
if I well understand it seems Whonix template is not working so:
I copy a debian-12 template and name it debian-12-Crypto
I aslso created an APPS Crypto with debian-12-crypto as template and sys-whonix as Netvm
I dowloaded last Trezor appimage: Trezor-Suite-2 4 .4.2-linux-x86_64.AppImage
If my memories is good I had issue with “ sudo chmod u+x /Trezor-Suite-2 4 .4.2-linux-x86_64.AppImage
so I did by by right-clicking on the .AppImage file and clicking “execute”.
STEP 2
I follow the normal procedure on APPS Crypto, is it the good area ?
sudo nano /rw/config/rc.local
socat TCP-LISTEN:21325,fork EXEC:”qrexec-client-vm sys-usb trezord-service” &
Step 3:
I did it properly I guess in dom0
Step 4: Fedora Templates
-
Clone your current regular fedora-37 template Qube and name it fedora-39-sys.
-
Clone the fedora-37-dvm Qube (default-dvm) and name it default-dvm-sys.
-
Set the template for the default-dvm-sys. as fedora-3 9 -sys.
-
Set sys-usb’s template as default-dvm-sys.
Step 5: Trezord Service
In default-dvm-sys .
- Open terminal and execute the following code:
sudo mkdir /usr/local/etc/qubes-rpc
This will create a folder titled qubes-rpc within the specified directory
- Create a plain text file within that folder titled trezord-service by executing the following code:
sudo nano /usr/local/etc/qubes-rpc/trezord-service
- You are now editing the plain text file within the terminal window. Add the following line of code to the file:
socat - TCP:localhost:21325
Press Ctrl + X to save.
Press Y to confirm then press Enter to exit.
- Make the new file executable with the following command:
sudo chmod +x /usr/local/etc/qubes-rpc/trezord-service
Step 6: Trezor Bridge
In fedora-3 9 -sys:
I din’t succeed wit part 2 and 3 and replace by à software installation of this rpm
is it acceptable too ?
-
Download the Trezor Bridge .rpm file
-
Open a terminal window in fedora-39-sys and run the following code to allow the rpm file to be executable:
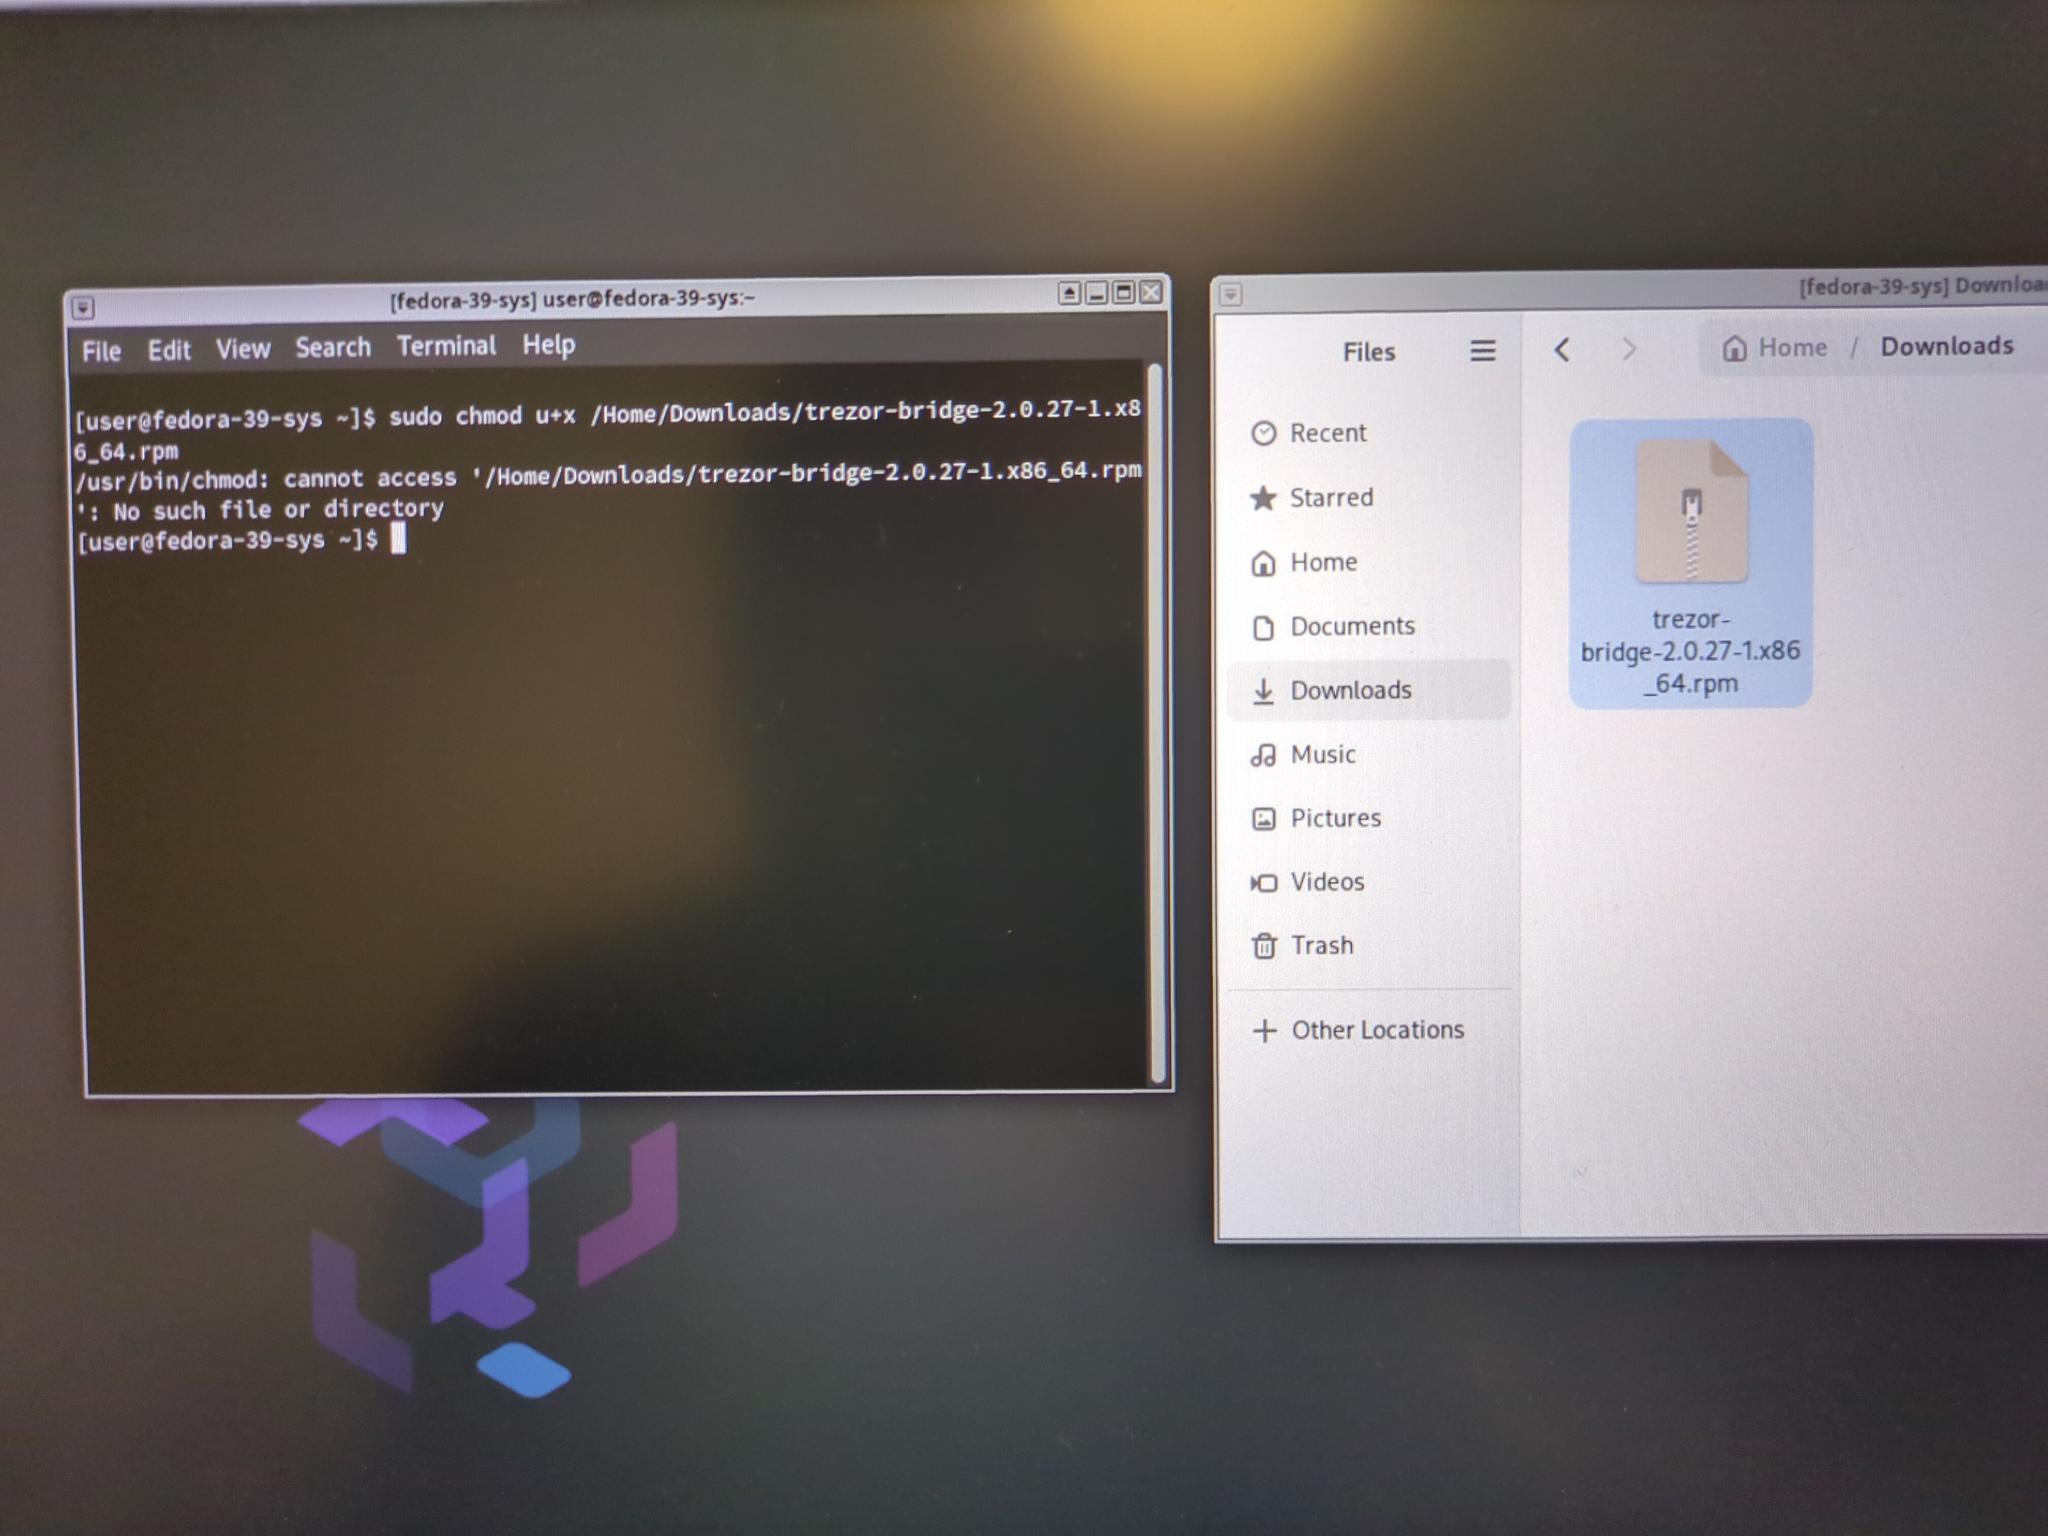
sudo chmod u+x /Downloads/trezor-bridge-2.0.27-1.x86_64.rpm
I had that
issue
- Install the Trezor bridge rpm file with the following code:
sudo rpm -i /Downloads/trezor-bridge-2.0.27-1.x86_64.rpm
This will automatically install the bridge in the following directories:
/etc/systemd/system/multi-user.target.wants/trezord.service
/usr/lib/systemd/system/trezord.service
Successful installation should result in terminal showing that both directories are communicating with each other.
“created symlink /etc/systemd/system/multi-user.target.wants/trezord.service → /usr/lib/systemd/system/trezord.service.”
Step 7: Udev Rules
I used the first method
Method 1: Manual Build
In fedora-3 9 -sys:
- Run the following code in a terminal window to create the 51-trezor.rules file in the Udev rules directory.
sudo nano /etc/udev/rules.d/51-trezor.rules
- After running this command you are now editing the plain text file you have just created. Copy and paste the following code into terminal:
# Trezor
SUBSYSTEM=="usb", ATTR{idVendor}=="534c", ATTR{idProduct}=="0001", MODE="0660", GROUP="plugdev", TAG+="uaccess", TAG+="udev-acl", SYMLINK+="trezor%n"
KERNEL=="hidraw*", ATTRS{idVendor}=="534c", ATTRS{idProduct}=="0001", MODE="0660", GROUP="plugdev", TAG+="uaccess", TAG+="udev-acl"
# Trezor v2
SUBSYSTEM=="usb", ATTR{idVendor}=="1209", ATTR{idProduct}=="53c0", MODE="0660", GROUP="plugdev", TAG+="uaccess", TAG+="udev-acl", SYMLINK+="trezor%n"
SUBSYSTEM=="usb", ATTR{idVendor}=="1209", ATTR{idProduct}=="53c1", MODE="0660", GROUP="plugdev", TAG+="uaccess", TAG+="udev-acl", SYMLINK+="trezor%n"
KERNEL=="hidraw*", ATTRS{idVendor}=="1209", ATTRS{idProduct}=="53c1", MODE="0660", GROUP="plugdev", TAG+="uaccess", TAG+="udev-acl"
- Press control + X to save the file.
Press Y to confirm.
Press Enter to exit.
- Make the Udev rules file executable by running the following code in terminal:
sudo chmod +x /etc/udev/rules.d/51-trezor.rules
Step 8: Install Trezor Dependencies
-
In the Crypto AppVM where you are using Trezor open a terminal window.
-
Run the following command to install pip.
sudo apt install pip
- Run the following command to install the trezor package:
pip3 install --user trezor
not working
so I used
sudo apt install python3-trezor
AND
-
Enable networking permissions for fedora-39-sys in the Qubes manager.
-
Run the following command to install the trezor-common package:
sudo dnf install trezor-common
- Revoke fedora-39-sys networking permissions in the Qubes manager.
After that I installed Electrum wallet on debian-12-Crypto
and open Crypto Qubes
I tried create à new wallet with my Trezor Safe 3 model
but not working with this message : “no hardware device detected”
You need to change
/Downloads/
to this if you’re currently in the home directory and as user user:
./Downloads/
to this if you’re currently in any directory and as user user:
~/Downloads/
or to this if you’re currently in any directory and as any user:
/home/user/Downloads/
Did you install it or not?